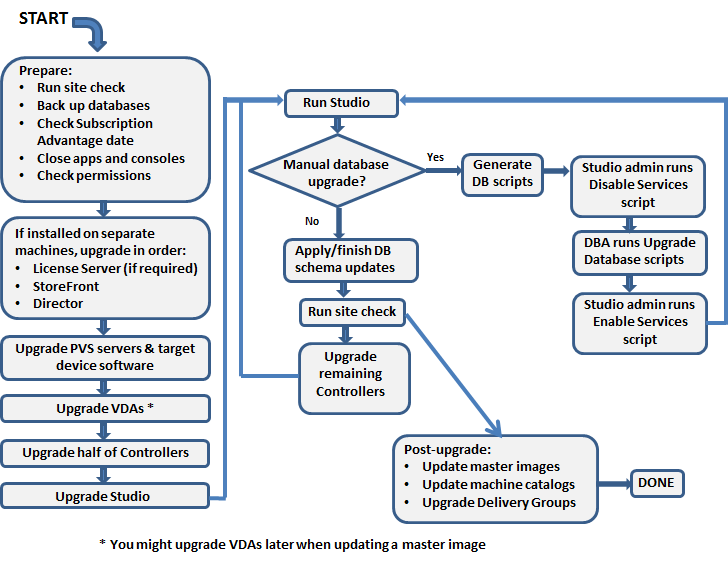
- Make sure that your Subscription Advantage date for licenses is valid.
- Back up the Delivery Controller databases.
- Upgrade Director if it is installed on a separate machine from your Delivery Controllers.
- Backup templates and upgrade hypervisors (optional).
- Upgrade Provisioning Services if in use.
- Upgrade the Virtual Delivery Agent and perform an image update on all master images.
- Upgrade half of your Delivery Controllers (all components).
- Use the upgraded version of Studio to perform Site upgrade.
- Upgrade your remaining Delivery Controllers (all components).
Below i will cover:-
- Director/Studio/Delivery Controller/License Server upgrade (all in single server)
- Storefront on Separate Server
- Upgrade of a Server OS VDA
StoreFront Upgrade
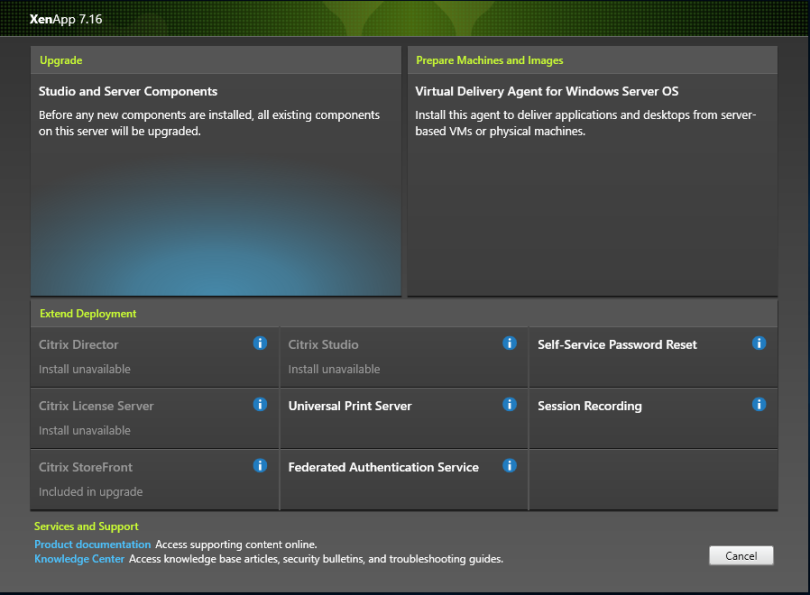
Step 1: Download the Citrix 7.16 ISO from the Citrix Downloads (XenApp_and_XenDesktop_7_16.iso) and Click Upgrade Studio and Server Components
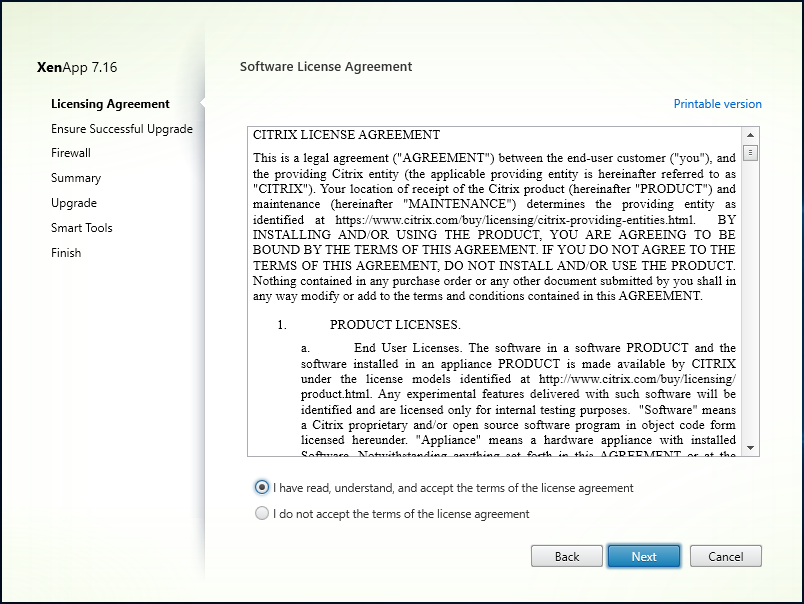
Step 2: Accept the terms and license agreement, click on Next
Step 3: At Ensure a Successful upgrade, tick I’m ready to continue , Click next

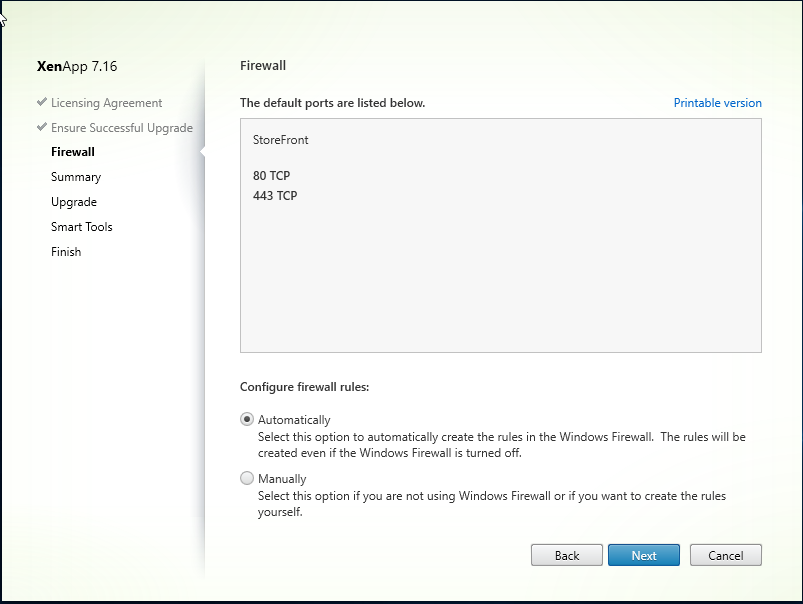
Step 4: Leave configuration at “Automatically”, Click Next
Step 5: At Summary screen, confirm everything is correct, Click Upgrade
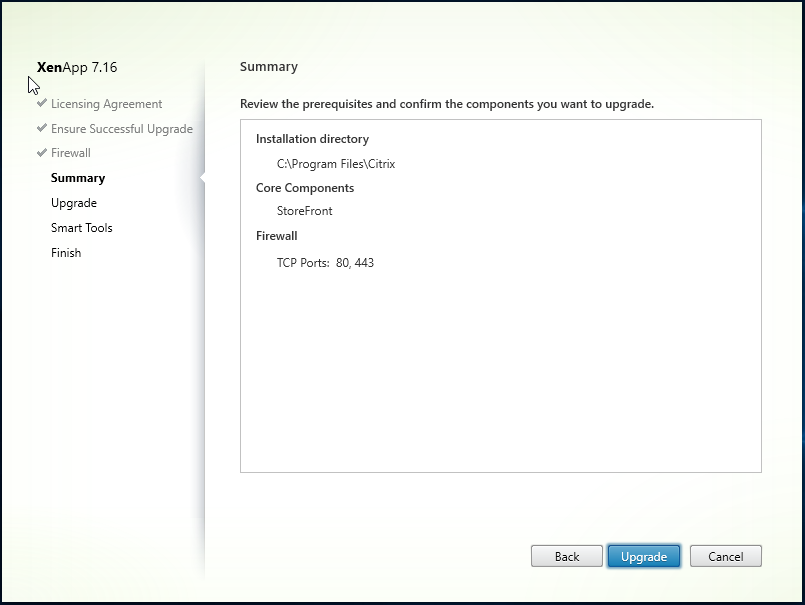
Step 6: Click OK at warning that you cannot cancel the upgrade to proceed..
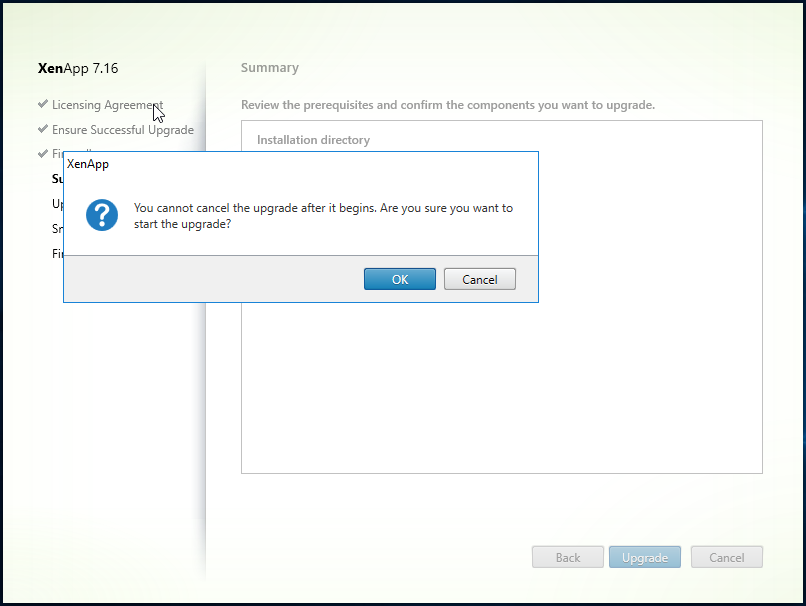
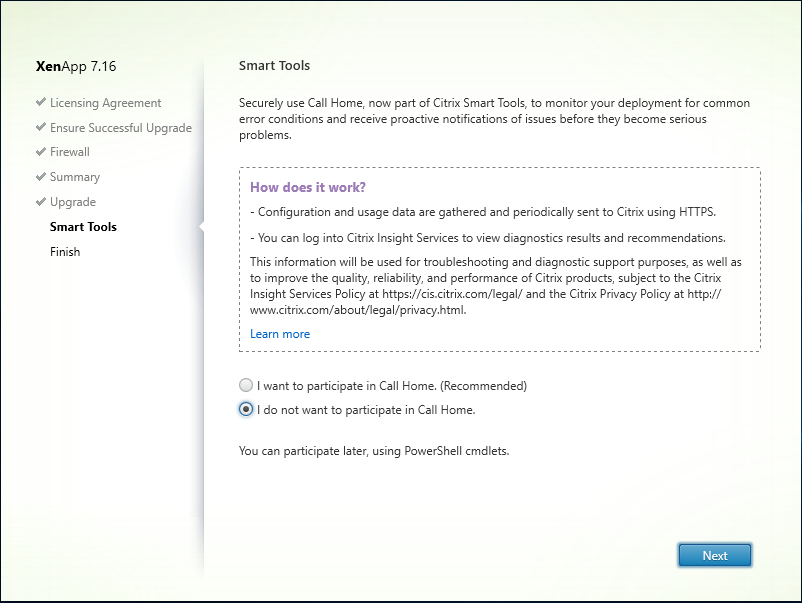
Step 7: At Call Home, Select i do not want to participate in Call Home
Step 8: Click Finish

Step 9: Repeat this on every StoreFront Server
Upgrade VDA’s (On Master Image)
Step 1: Download the Citrix 7.16 ISO from the Citrix Downloads (XenApp_and_XenDesktop_7_16.iso) and Click Upgrade Studio and Server Components

Step 2: At additional components, click next
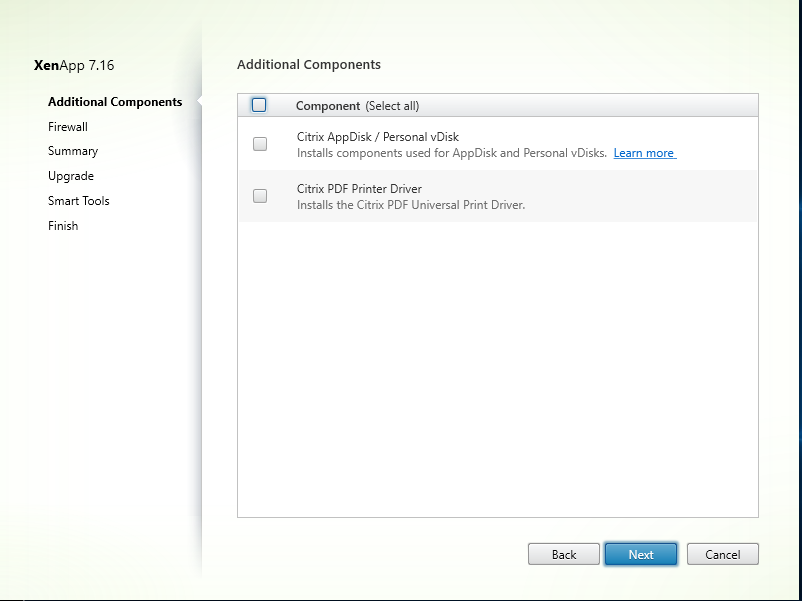
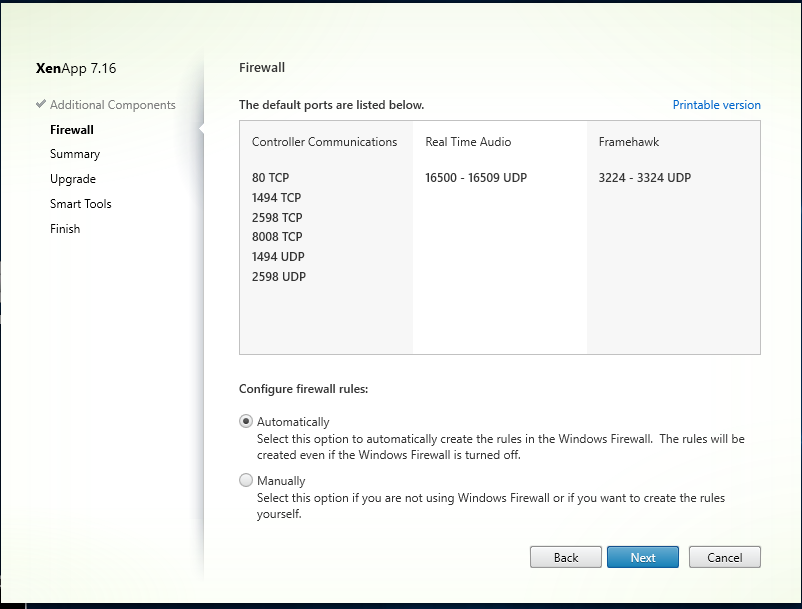
Step 3: Leave configuration at “Automatically”, Click Next
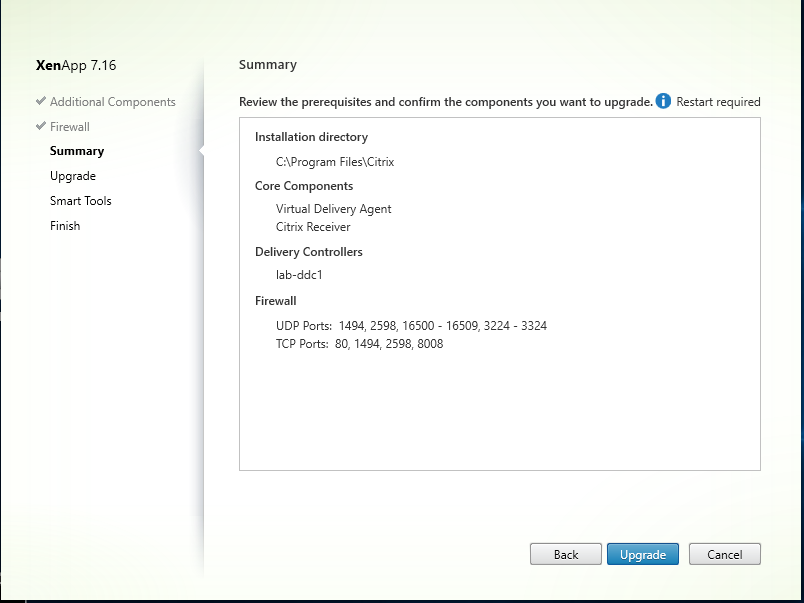
Step 4: At Summary screen, confirm everything is correct, Click Upgrade
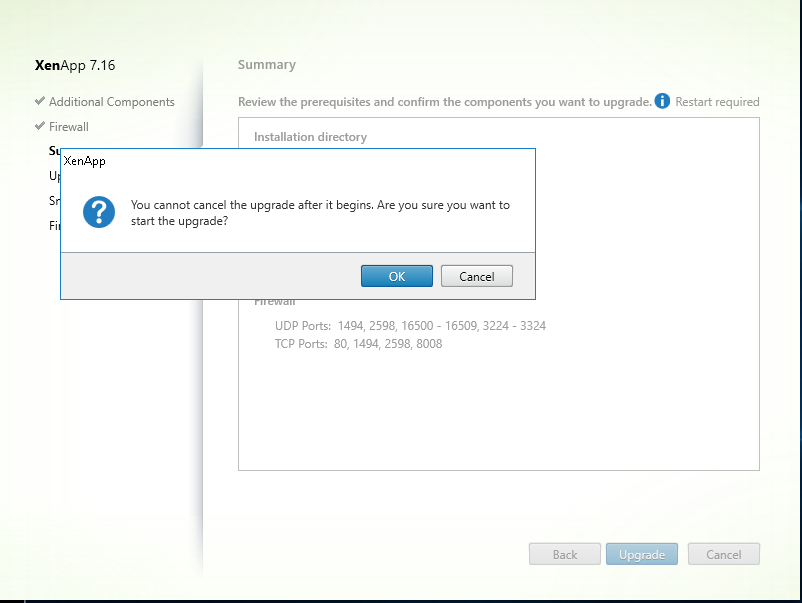
Step 5: Click OK at warning that you cannot cancel the upgrade to proceed..
Step 6: Core components will be upgraded.

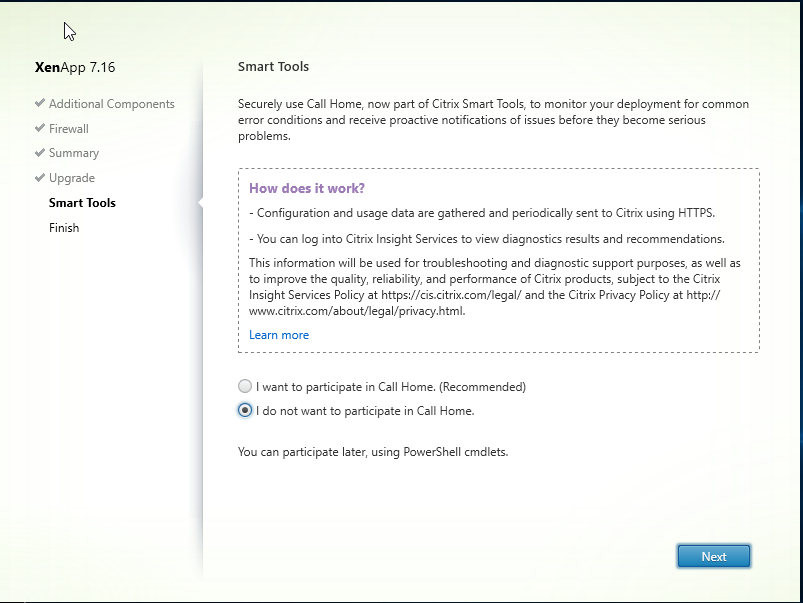
Step 7: At Smart Tools, Select i do not want to participate in Call Home
Step 8: After upgrade has finished. Click Finish

Step 9: Repeat this in all Master Images used in Site.
Delivery Controller Upgrade (& License/Director)
Step 1: Download the Citrix 7.16 ISO from the Citrix Downloads (XenApp_and_XenDesktop_7_16.iso) and Click Upgrade Studio and Server Components

Step 2: Accept the terms and license agreement, click on Next
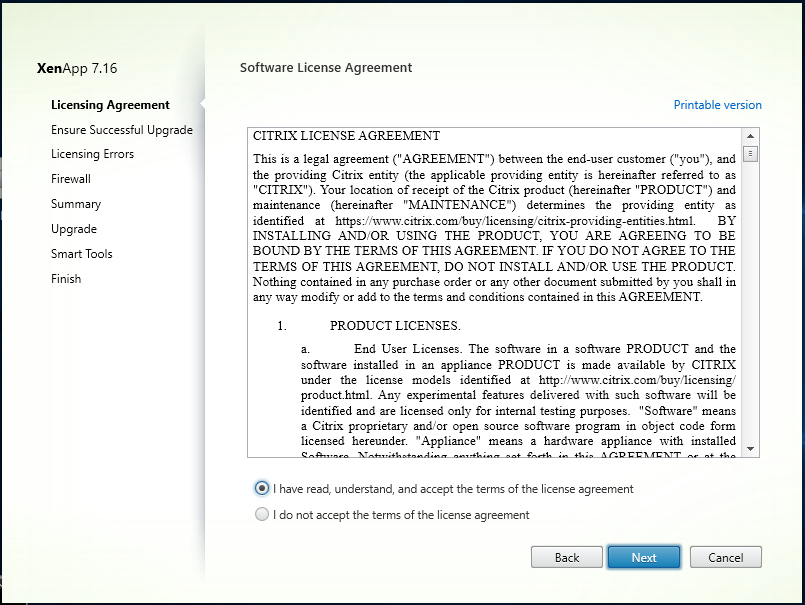
Step 3: At Ensure a Successful upgrade, tick I’m ready to continue , Click next

Step 4: A Licensing error will appear, tick “let me continue” and click Next.
Errors: –
- “One or more issues were detected with your license configuration. If unresolved, such issues will affect users’ ability to access applications and desktops after the site upgrade.”
- “Your licenses are incompatible with this product. Ensure you have the type of licenses you need.”
NOTE: See the following Citrix article – https://support.citrix.com/article/CTX230581
Thanks for G. Jongeneel for highlighting the article has been created after a twitter discussion with citrix (see comment at bottom)

Step 5: Leave configuration at “Automatically”, Click Next
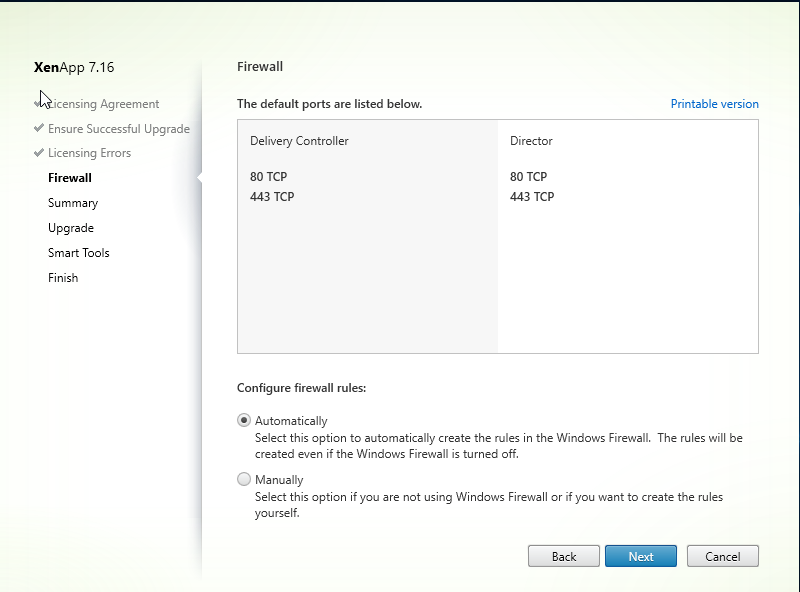
Step 6: At Summary screen, confirm everything is correct, Click Upgrade

Step 7: Click OK at warning that you cannot cancel the upgrade to proceed..

Step 8: Upgrade will now proceed!
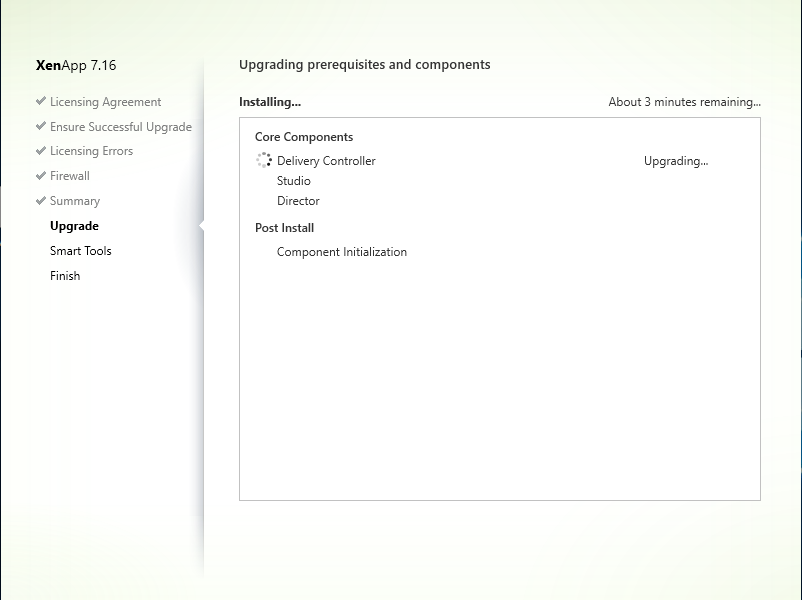
Step 9: The install will require a reboot, click Close and reboot will be initiated
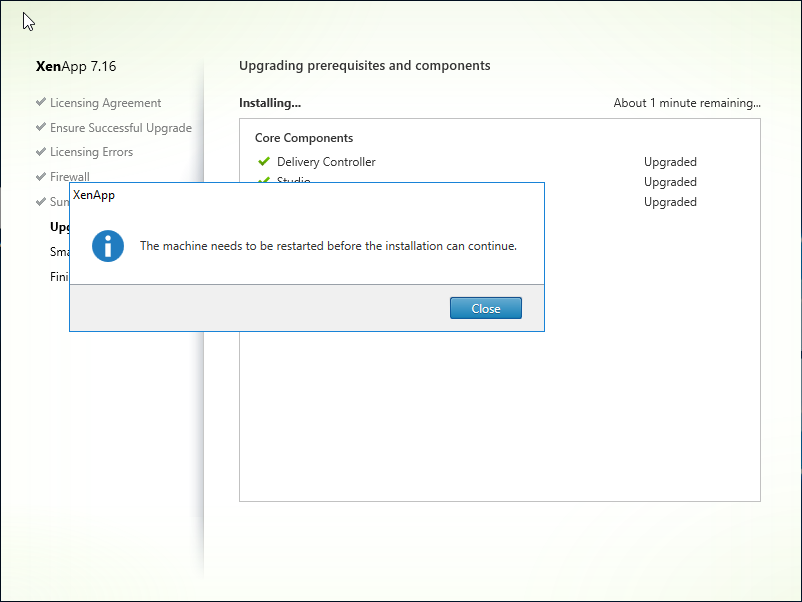
Step 10: Server will be rebooted.

Step 11: Post Install upgrade will continue and Finish Successfully.
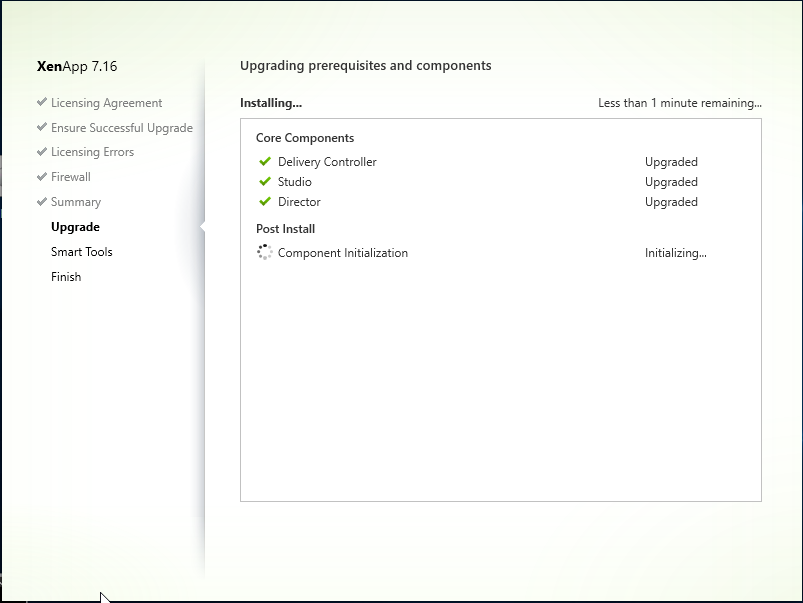
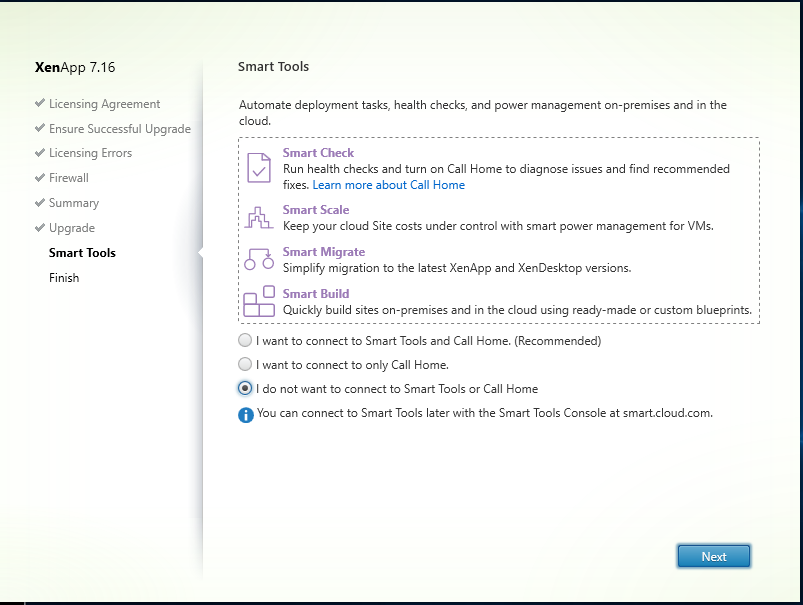
Step 12: At Smart Tools, Select i do not want to connect to Smart Tools or Call Home. Click Next
Step 13: Click Finish to complete the upgrade. Ensuring Launch Studio is still ticked.

Step 14: Repeat this on exactly half of the delivery controllers on the site.
Step 15: Launch Citrix Studio, click Start the automatic Site upgrade

Step 14: Select, I am ready to upgrade. Click Upgrade
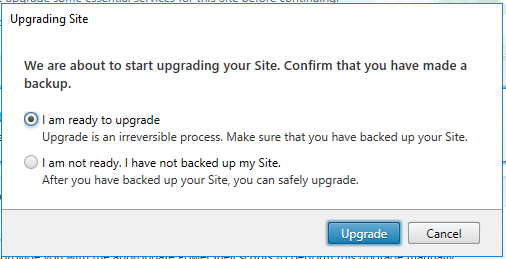
Step 15: Upgrade of Site/DB’s will begin and take a few minutes

Step 16: Site upgrade will show as complete when done.

Step 17: In Citrix Studio\Common Tasks\Site – Perform Site Test and confirm all tests pass successfully.

Step 18: Repeat this the rest of the delivery controllers on the site.

See https://support.citrix.com/article/CTX230581 for licensing error.
Thank you, i believe this has been raised based on the conversation on twitter i had on the error (which included citrix staff) https://twitter.com/WilkyIT/status/938438951161028608