Prerequisites
- Administrative Console – for this lab it will be installed on the broker VM but for production environment it would be recommended to install alonside citric studio.
- Broker VM – 4vCPU, 8GB RAM recommended for 3,000 users on Windows Server 2008 R2 or later (in this arcticle we will use Server 2016)
- SQL Server (2008 R2 or later supported) – sysadmin required for creation of database within WEM configuration
- Citrix License Server – Requires 11.14 or later
Installing Infrastructure Service
Step 1: Download the Workspace Environment Management 4.1 from Citrix Downloads. Open Infrastructure Services Setup (Citrix Workspace Environment Management Infrastructure Services v4.01.00.00 Setup)

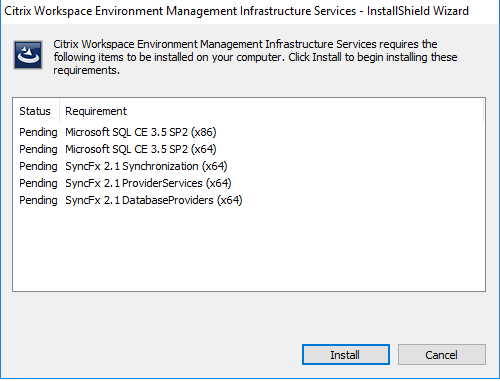
Step 2: Click Install to install prerequisites for Installation
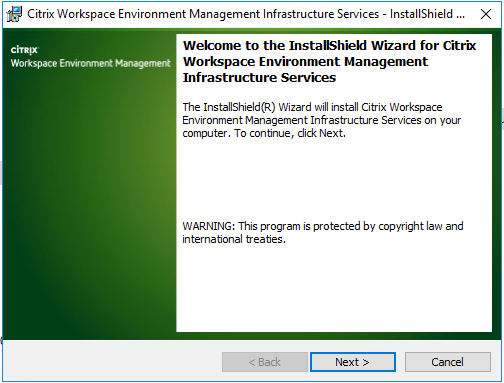
Step 3:Click Next at the Installation Wizard window.
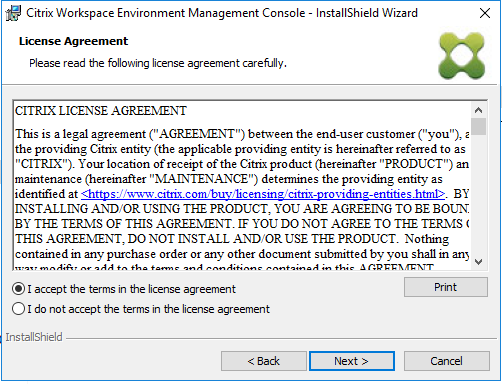
Step 4: Click i accept the terms in the license agreement , click next
Step 5: Enter Username/Organisation, Click next

Step 6: At Setup type, select Complete and click next

Step 7: Click Install to begin installation

Step 8: Installation will progress for a few minutes

Step 9: Click finish at Installation wizard completed

Creating Database
Step 1: Start Menu – Citrix – Click Database Management
![]()
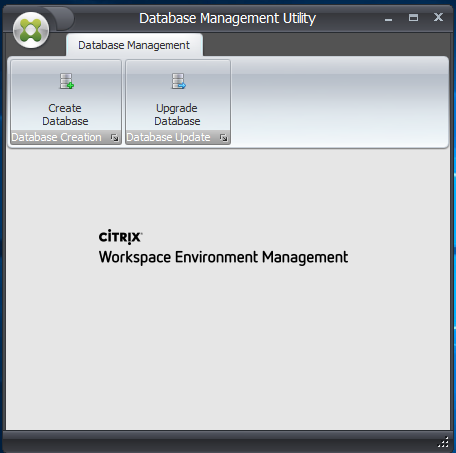
Step 2: Click Create database at Database Management Utility
Step 3: Click Next at create database wizard

Step 4: Enter the following information and then click next
- Server and Instance Name – LAB-SQL (in my case)
- Database Name – CitrixWEM (in my case)
Database File/Log File will auto-populate after Server and Instance name is added

Step 5: Tick Use Integrated connection (Windows Credentials) and click next

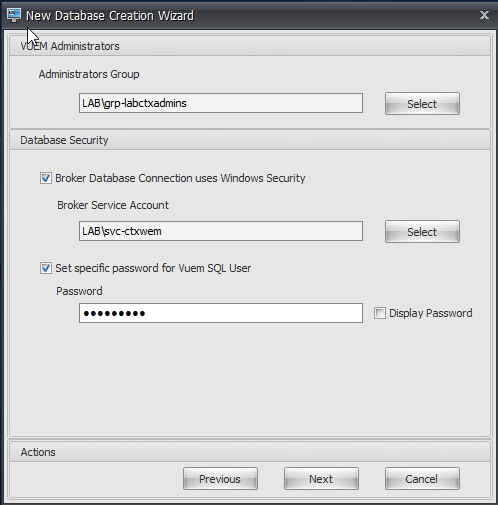
Step 6: Enter the following information, then click next
- Administrators Group – LAB\grp-labctxadmins
- Broker Database Connection uses Windows Security – Ticked
- Broker Service Account – LAB\svc-ctxwem
- Set Specific password for Vuem SQL User – Ticked
- Password – set a unique password here
Step 7: At Database Information Summary, click Create Database
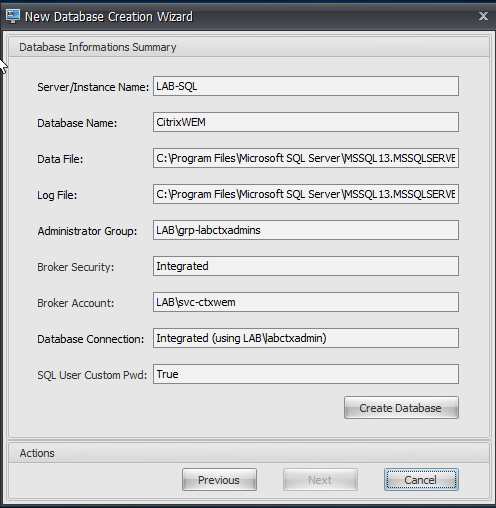
Step 8: Database will begin to be created

Step 9: Database created successfully will be appear, click OK

Configuring Broker Service
Step 1: Click Start – Citrix – Click Broker Service Configuration
![]()
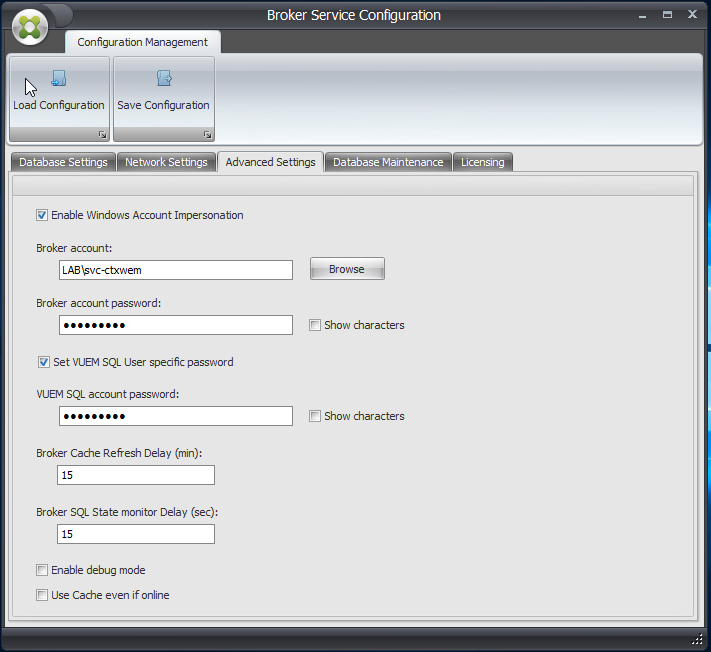
Step 2: Load Broker Service Configuration, Click Advanced Settings
- Enable Windows Account Impersonation – Ticked
- Broker Account: LAB\svc-ctxweb (in my case)
- Broker Account password: set password here
- Set VUEM SQL User specific password – ticked
- Leave everything else as default.
Step 3: Click Licensing tab, and Tick Global License server override, enter LAB-DDC1 and click Save configuration

Step 4: Click yes to restart the broker service and apply settings.

Step 5: Broker service will reboot and Broker Service configuration

Installing WEM Console
Step 1: Open Open Infrastructure Services Setup (Citrix Workspace Environment Management Console v4.01.00.00 Setup), Click next at Installation wizard

Step 2:Click i accept the terms in the license agreement , click next

Step 3:Enter Username/Organisation, Click next

Step 4: At Setup type, select Complete and click next

Step 5: Click Install to begin installation

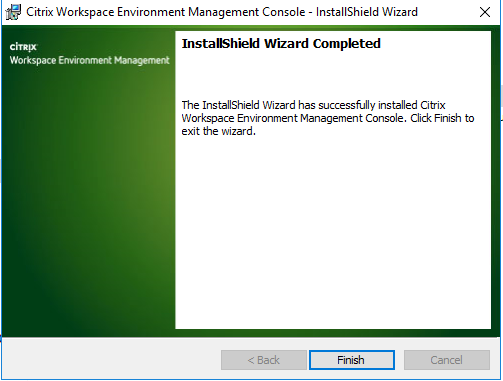
Step 6: Click finish at Installation wizard completed
Configuring Workspace Site
Step 1: Click Start Menu – Citrix – Administration Console

Step 2: Workspace Environment Management console will load with the below splash screen

Step 3: Click Connect

Step 4: Enter broker service name , in my case LAB-DDC1, Click Connect
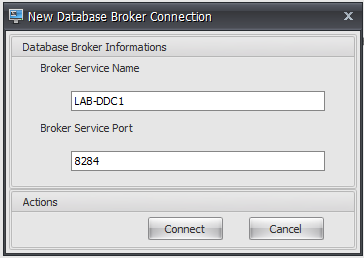
Step 5: Click Import Settings

Step 6: Click next at Setting Import Wizard

Step 7: At export folder, specify the configuration template loacted on installation media D:\Configuration template\default recommended settings. Then tick System Optimisation Settings, Agent Configuration Settings, System Monitoring Settings. Then Click next

Step 8: Click Import settings

Step 9: Click Yes to confirm site settings will be replaced by the one your importing

Step 10: Import will complete with import finished, Click Finish

Installing WEM Agent
Step 1: Download the Workspace Environment Management 4.1 from Citrix Downloads. Open Infrastructure Services Setup (Citrix Workspace Environment Management Agent v4.01.00.00 Setup)

Step 2:Click Install to install prerequisites for Installation
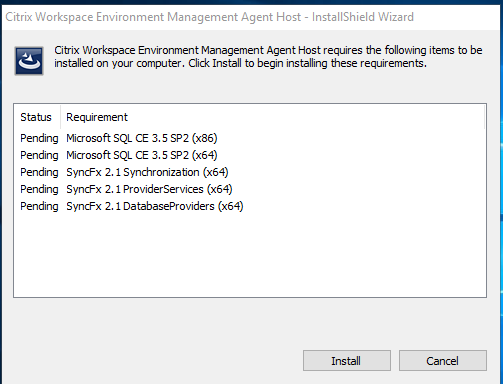
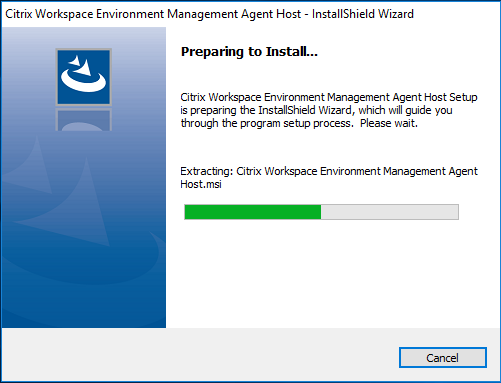
Step 3:Preparing to install… will show
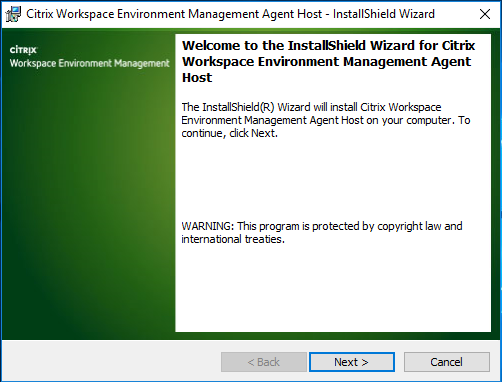
Step 4:Click Next at the Installation Wizard window.
Step 5: Click i accept the terms in the license agreement , click next
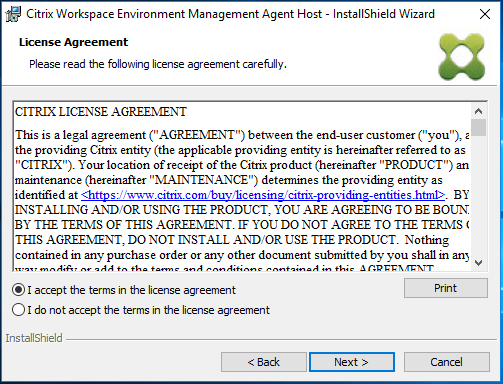
Step 6: At Setup type, select Complete and click next
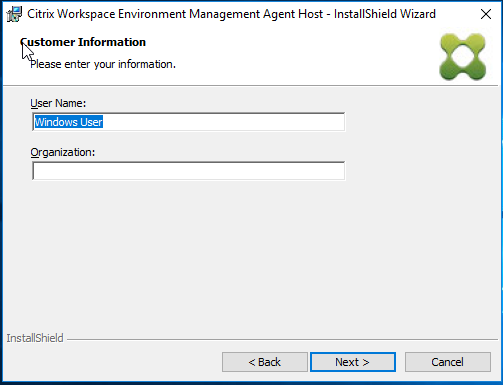
Step 7: Click Install to begin installation

Step 8: Click Install to begin installation

Step 9:Installation will progress for a few minutes

Step 10:Click finish at Installation wizard completed

Configuring ADMX
Step 1: Computer Configuration\Administrative Templates\Citrix\Workspace Environment Management\Agent Host Configuration

Step 2: Enable Connect Broker Name , enter Broker Service Name : LAB-DDC1

Anti Virus Exclusions
Broker : NorksaleBrokerService.exe, NorksaleBrokerServiceConfigurationUtility.exe, NortksaleDatabaseManagementUtility.exe
Agent Host : NorksaleAgentHostService.exe, VUEMUIAgent.exe, AgentLogParser.exe, AgentCacheUtility.exe, AppsMgmtUtil.exe, PrnsMgmtUtil.exe, VUEMAppCmd.exe, VUEMAppCmdDbg.exe, VUEMAppHide.exe, VUEMCmdAgent.exe, VUEMMaintMsg.exe, VUEMRSAV.exe.


One comment