
Install XenDesktop/XenApp 7.12 on Windows Server 2016 (Standard – Desktop Experience)
PreRequisites:
- Hypervisor (In this Lab Hosted on XenServer 7.0 (HF27))
- 1 VM (DDC,Director,Studio, License Server)
- 1 VM (StoreFront Server)
- 1 VM (Master Image)
- 1 VM (WorkLoad Server- Deployed via MCS)
- Netscaler Configured with Netscaler Gateway Feature
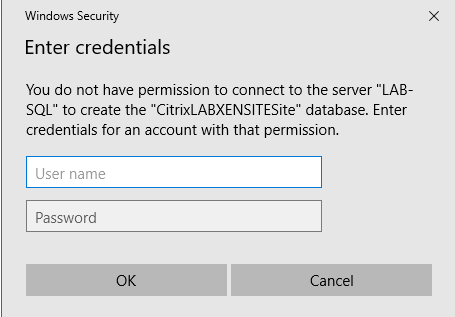
- SQL Server available for Citrix Database to be placed.
Installing XenDesktop Core Components:
Step 1: Download the Citrix 7.12 ISO from the Citrix Downloads (XenApp_and_XenDesktop_7_12.iso)
Step 2: Create Virtual Machine
- Computername: LAB-DDC1
- Domain Name: LAB.LOCAL (Windows 2016)
- OS: Windows Server 2016 Standard (Desktop Experience)
- VM Settings: 4GB RAM – 2 vCPU – 60 GB Harddisk
- Other settings: Allow RDP / XenServer tools applied, Attach XenApp_and_XenDesktop_7_12.iso
This Virtual Machine will have multi-role function: Delivery Controller, Citrix Studio, Directory ,License Server for the purpose of this Article/Lab.
NOTE: Storefront will be installed on a separate VM
Step 3: Open ISO Image (D:\ drive as per below)
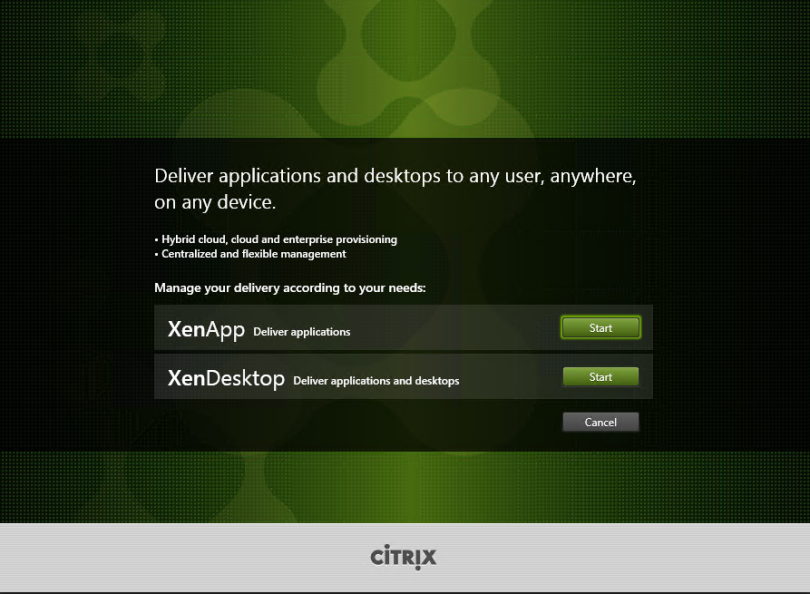
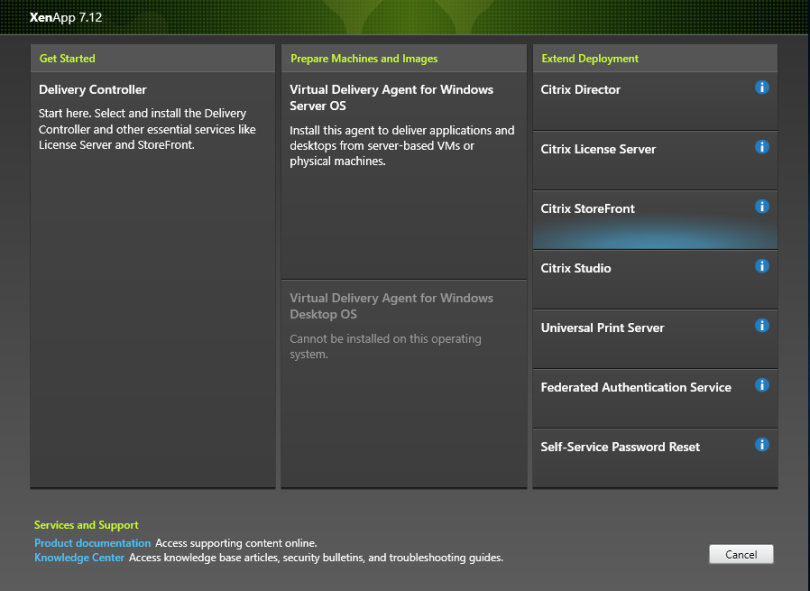
Step 5: Choose for the Get Started – Delivery Controller option
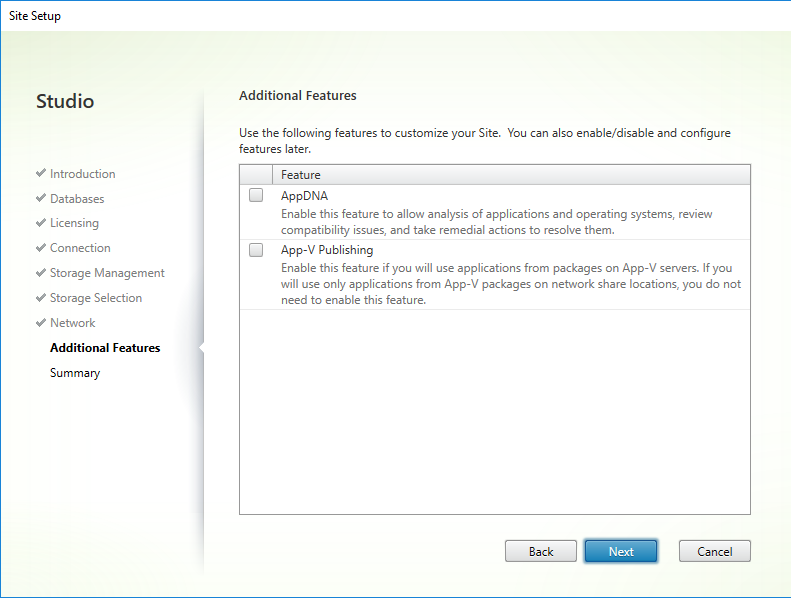
Step 7: Untick Storefront, as this will be installed on a separate Server. Click Next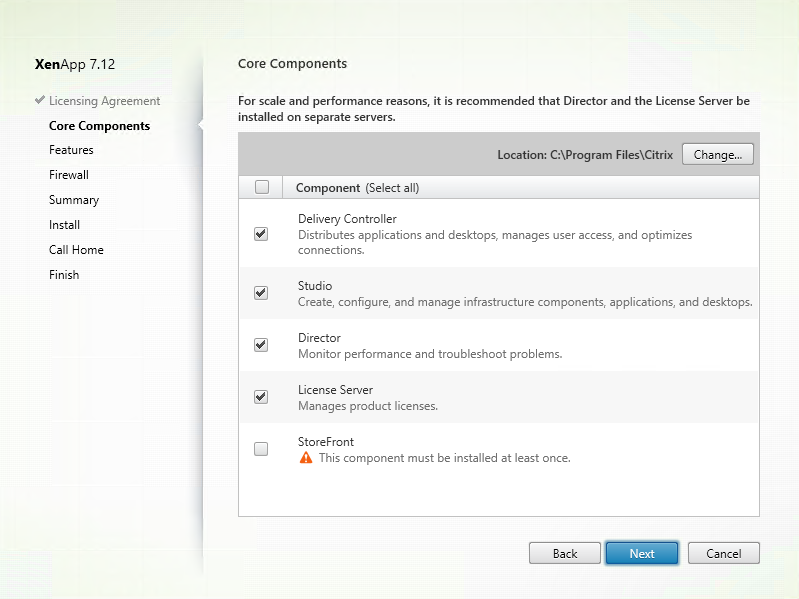
Step 8: Untick Install Microsoft SQL Server 2014 SP2 Express (DB’s will be installed onto separate SQL Server 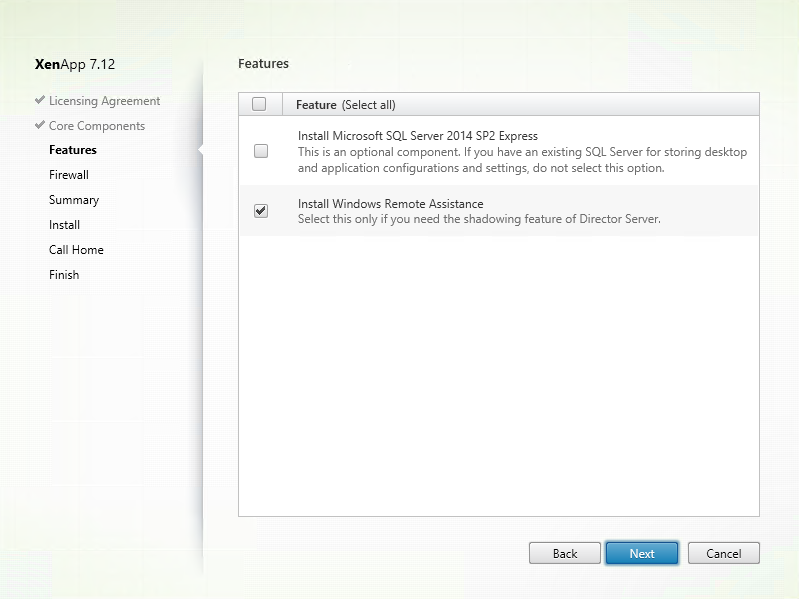
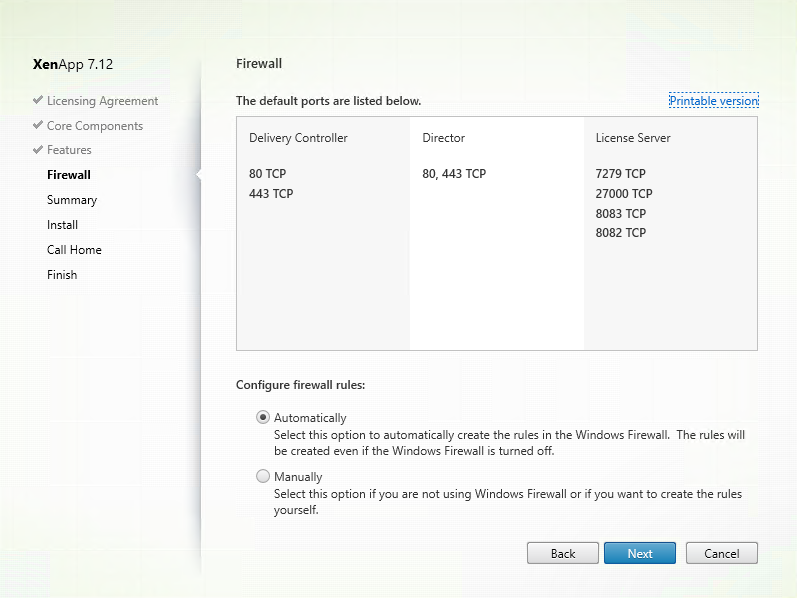
Step 9: Leave configuration at “Automatically”, Click Next
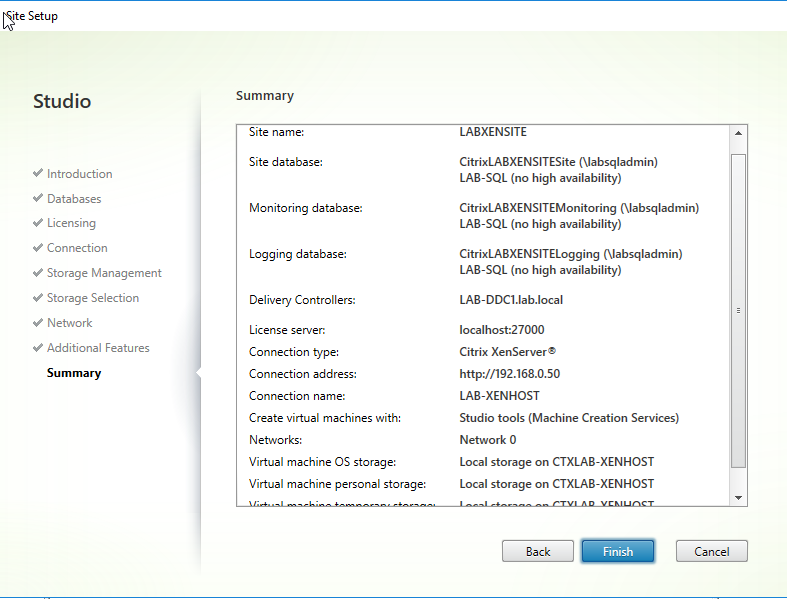
Step 10: At Summary screen, confirm everything is correct, Click Install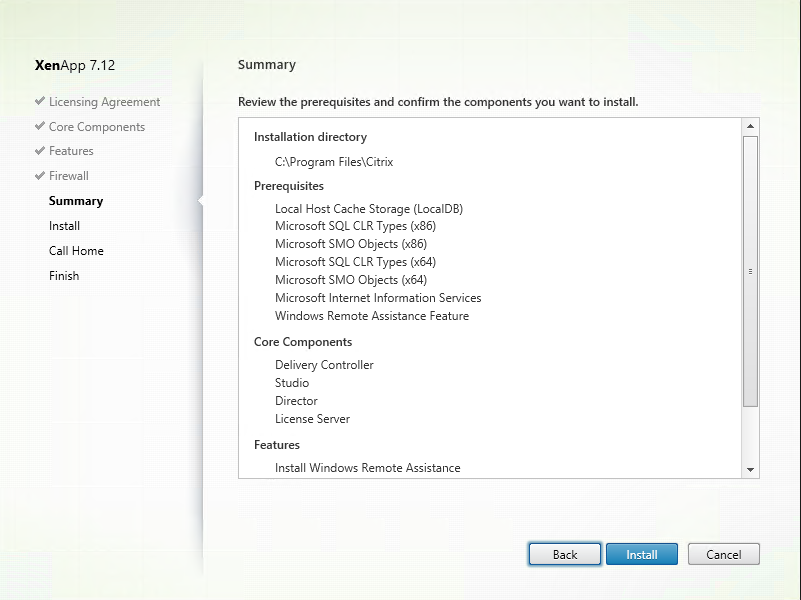
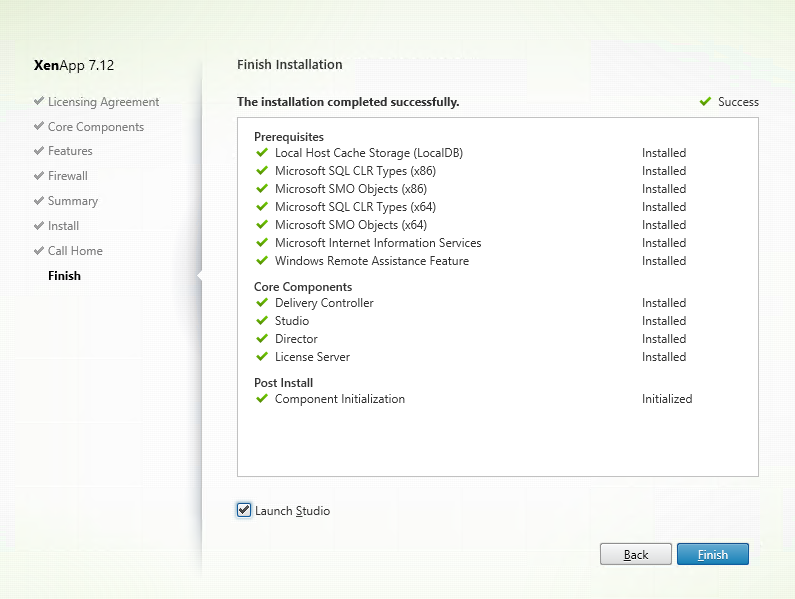
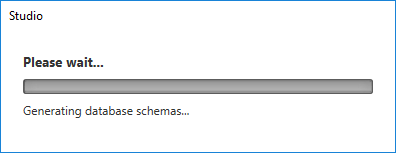
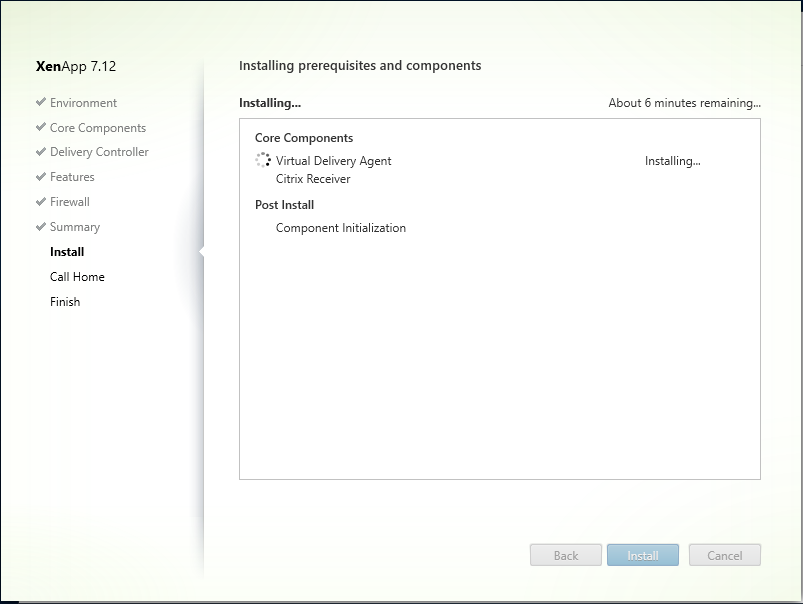
Step 11: Prerequisites and Components will now be installed.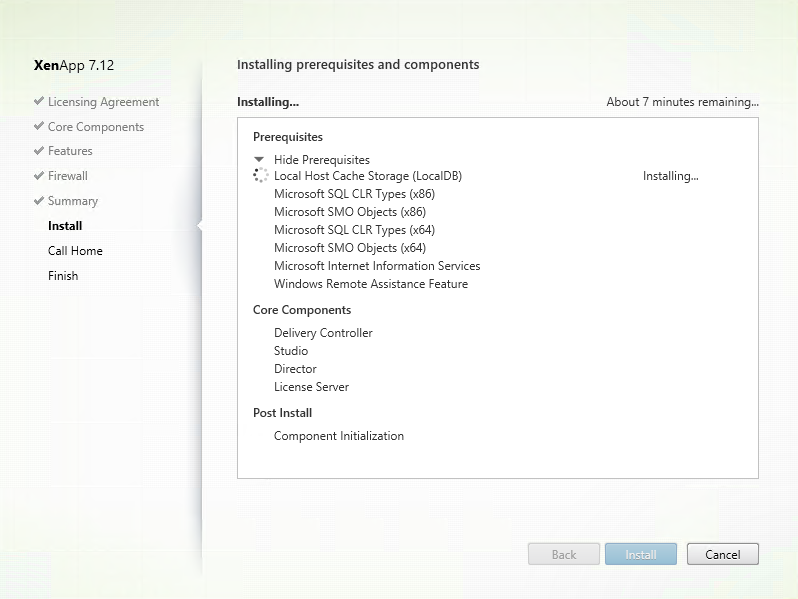
Step 12: At Call Home, Select i do not want to participate in Call Home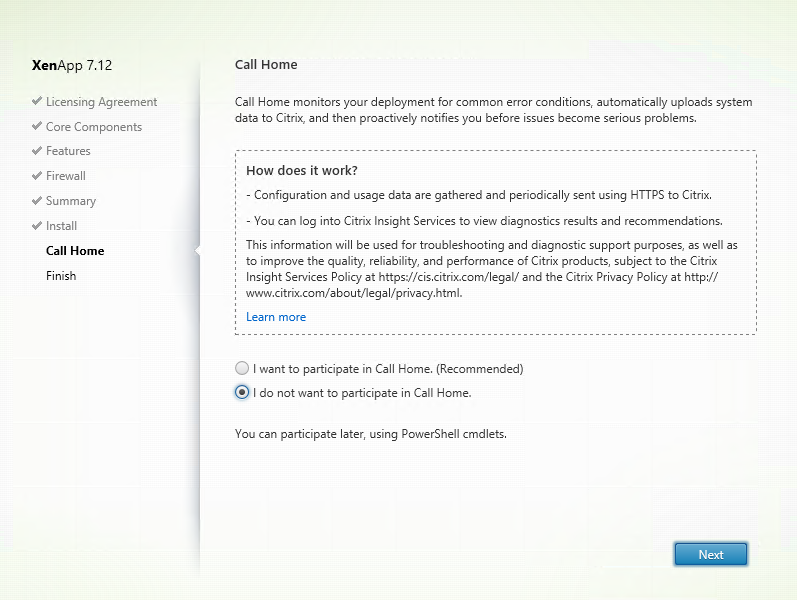
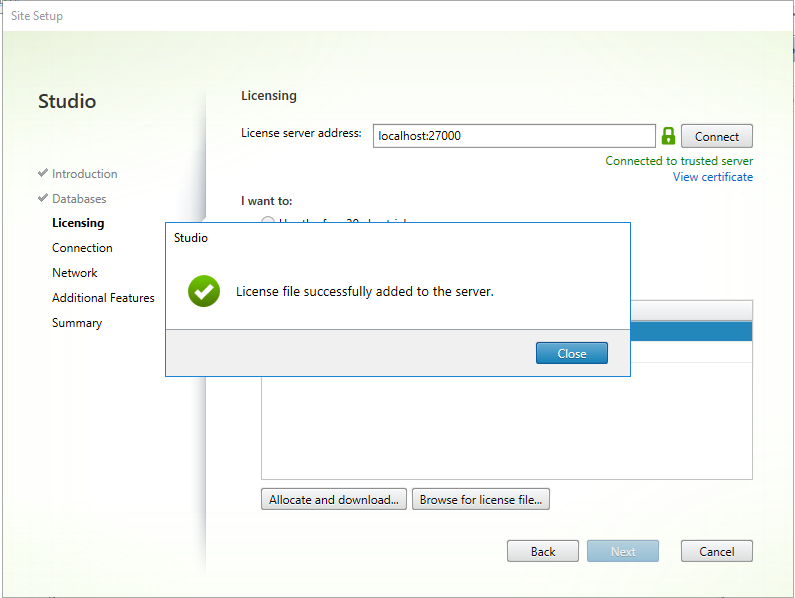
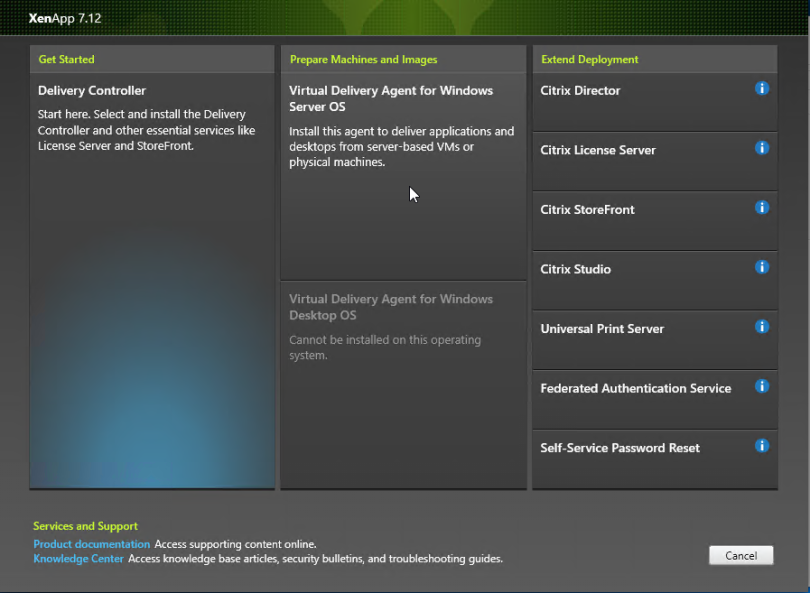
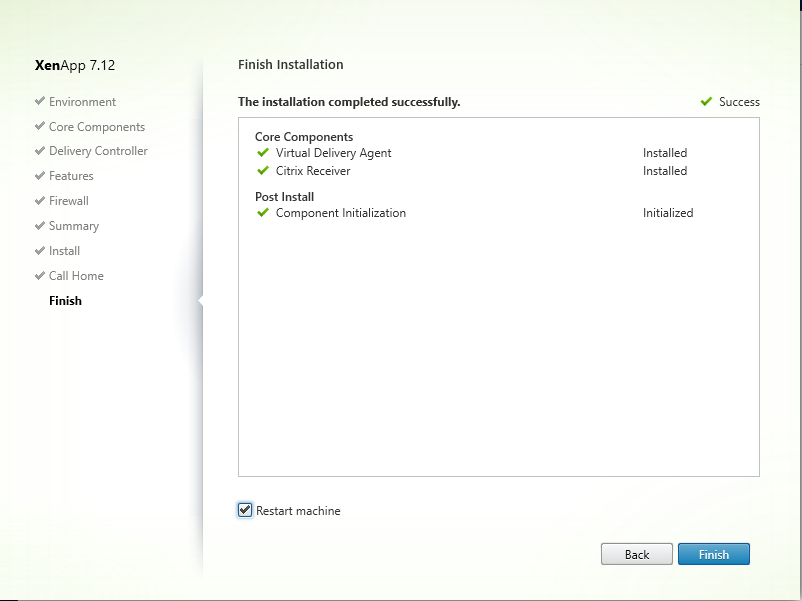
Step 13: After Installation has finished. Click Finish which will Launch Studio
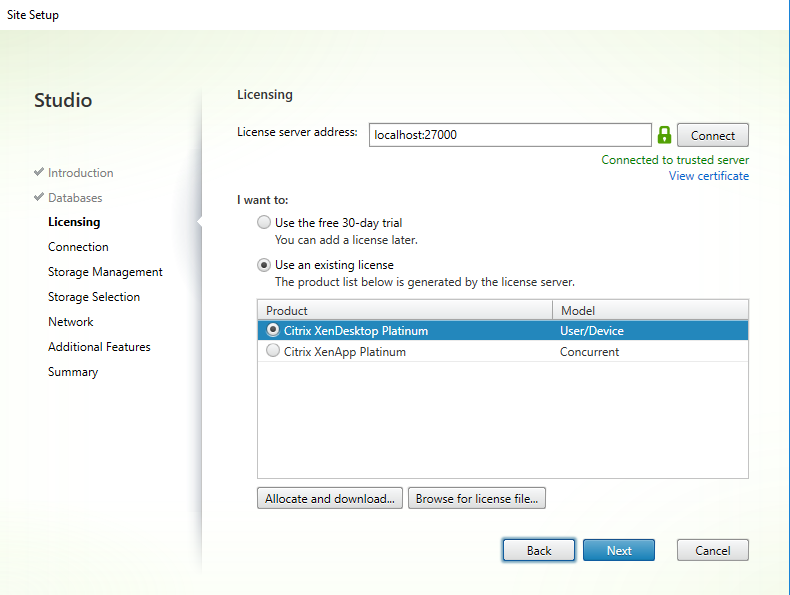
Step 14: Click on the — Deliver applications and desktops to your users — option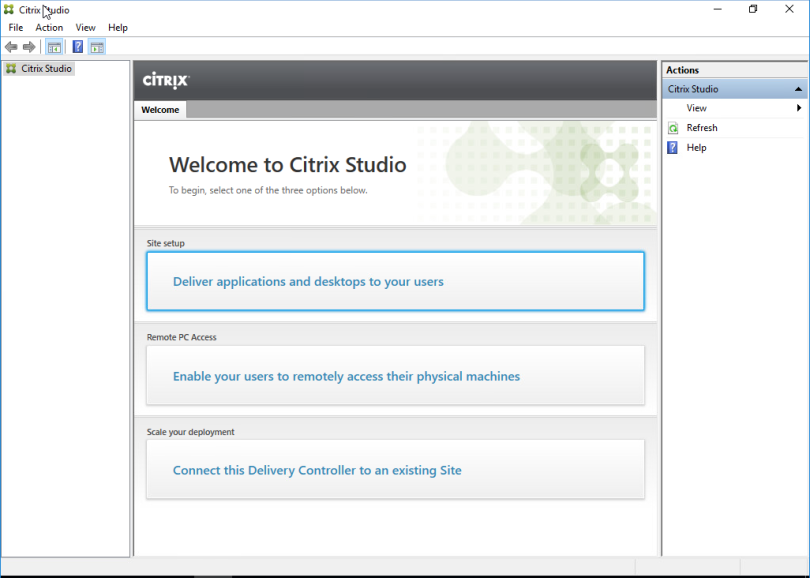


Configuring XenDesktop 7.12 – Create Master Image
Step 1: Download the Citrix 7.12 ISO from the Citrix Downloads (XenApp_and_XenDesktop_7_12.iso)
Step 2: Create Virtual Machine
- Computername: LAB-W2K16-HSD-MST
- Domain Name: LAB.LOCAL (Windows 2016)
- OS: Windows Server 2016 Standard (Desktop Experience)
- VM Settings: 4GB RAM – 2 vCPU – 60 GB Harddisk
- Other settings: Allow RDP / XenServer tools applied, Attach XenApp_and_XenDesktop_7_12.iso
This Virtual Machine will be the Hosted Shared Desktop(HSD) Work Load Servers
Step 3: Open ISO Image (D:\ drive as per below)
Step 5: Under Prepare Machine and Images , select Virtual Delivery Agent for Windows Server OS
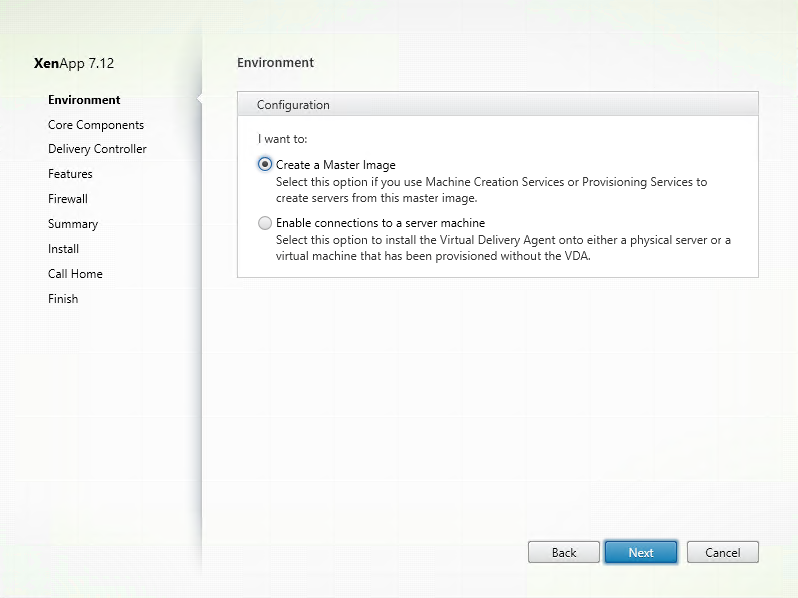
Step 6: At environment, select Create a master image, click next
Step 7: At Core Components, leave settings as default and click next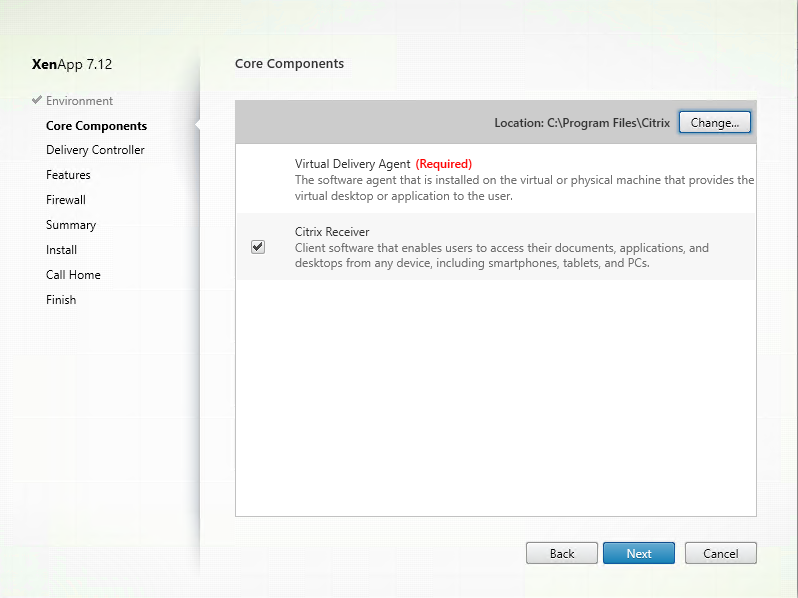
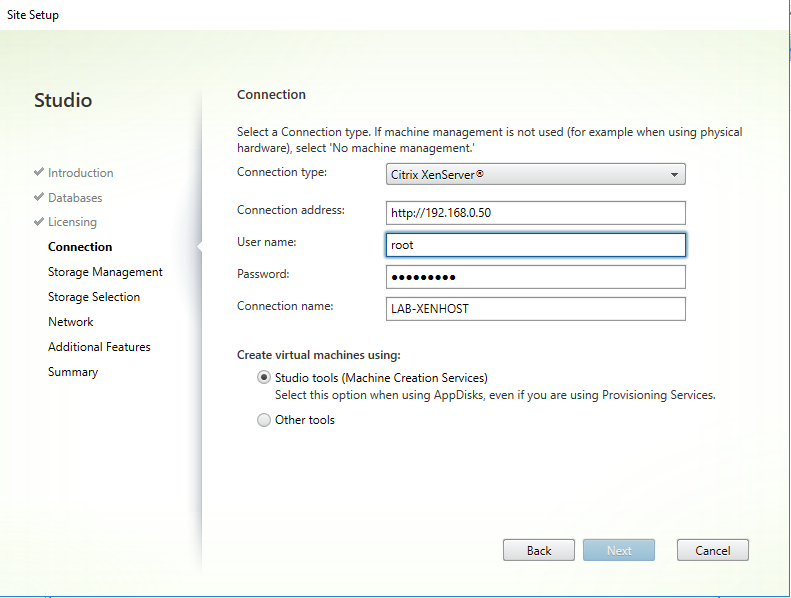
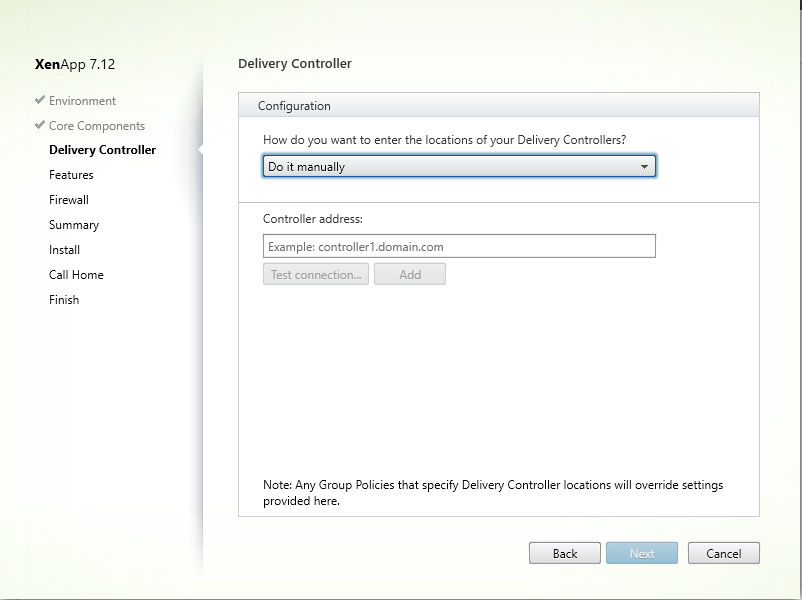
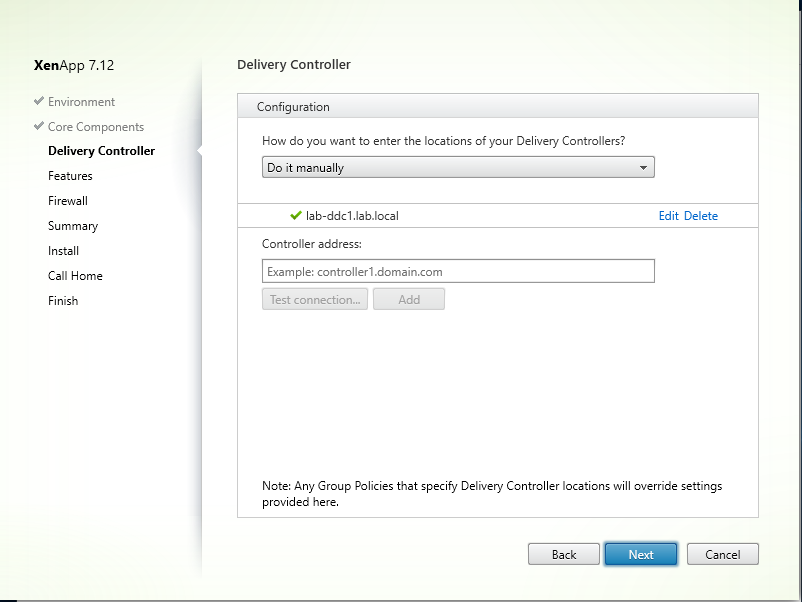
Step 8: Under Delivery Controller, Select Do it manually
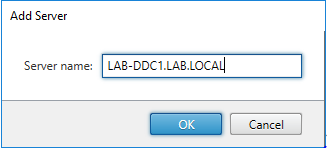
Step 9: Add Lab-ddc1.lab.local to controller address and click Test Connection
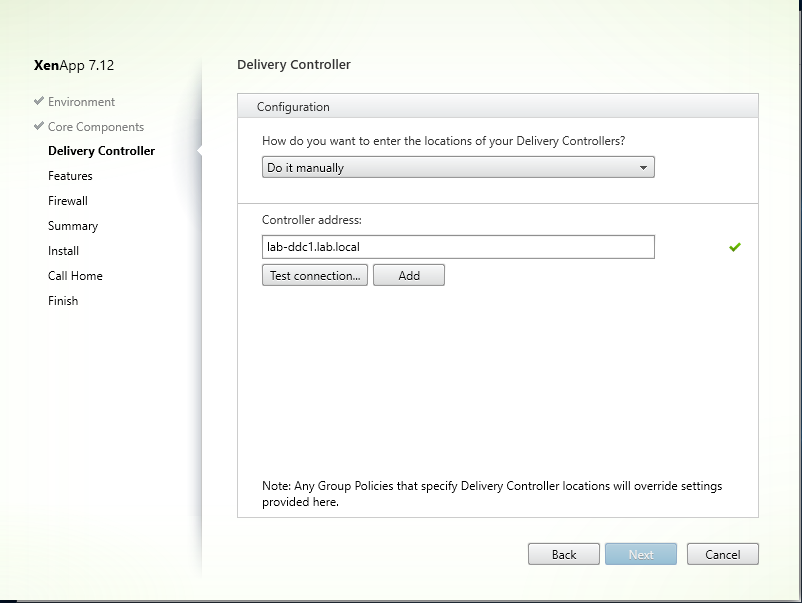 Step 10: Click Add
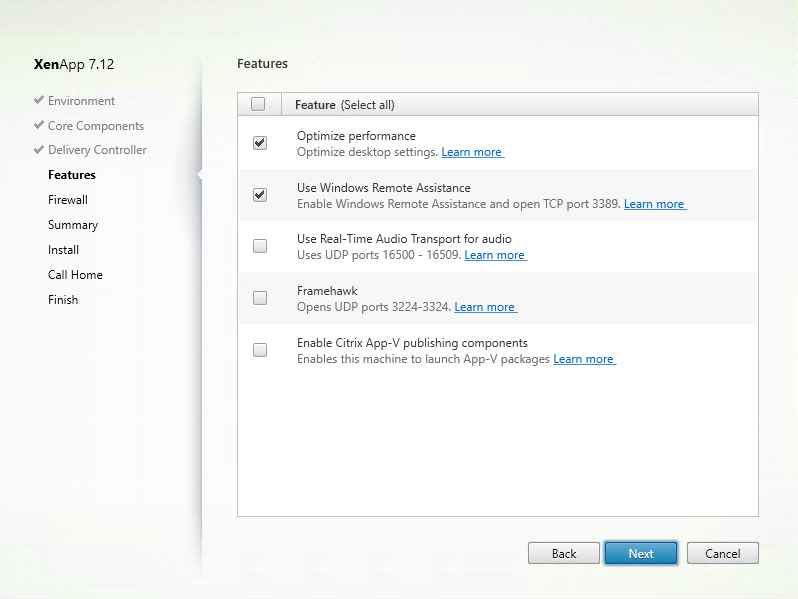
Step 11: Select Optimise Performance and Use Windows Remote Assistance, click next
Step 12: At firewall, leave at automatically and click next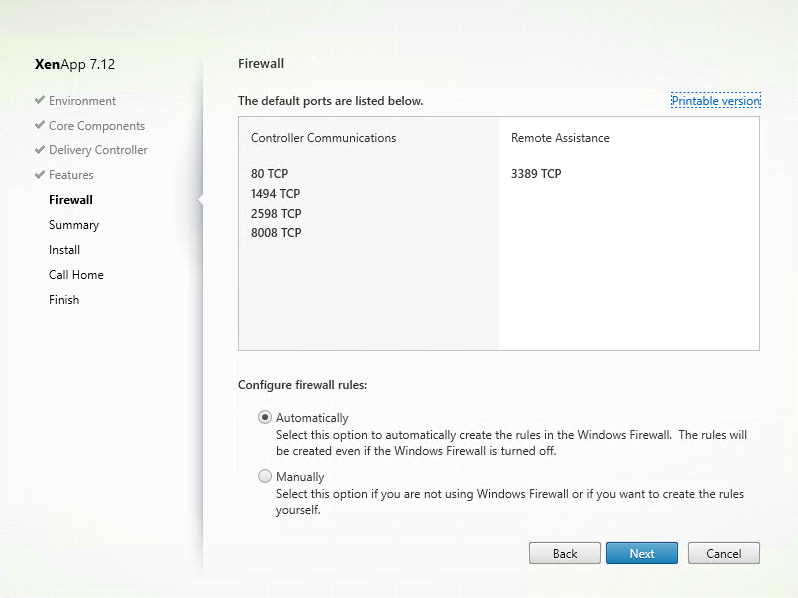
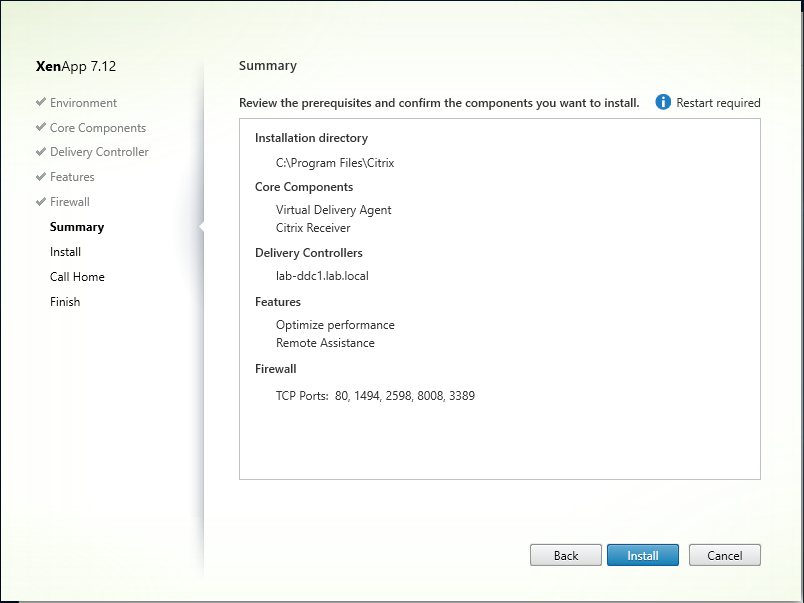
Step 13: At Summary, Click Install
Step 14: Virtual Desktop Agent & Citrix Receiver
Step 15: At Call Home, select I don not want to participate in Call Home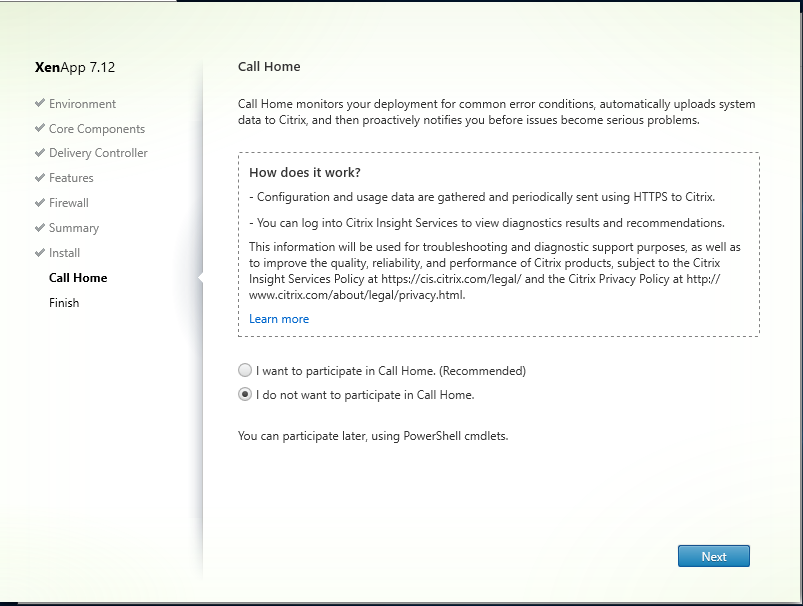
Step 16: At Successful Installation, Click Finish to reboot the server
Configuring XenDesktop 7.12 – Setup Machine Catalog
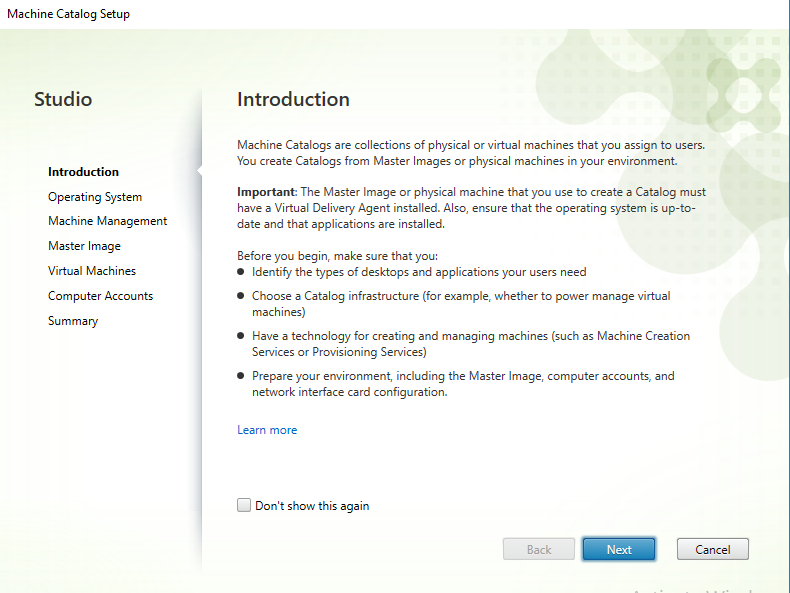
Step 1:At Site Setup, Select Step 2 – Machine Catalogs
Step 2: At Introduction, Click Next
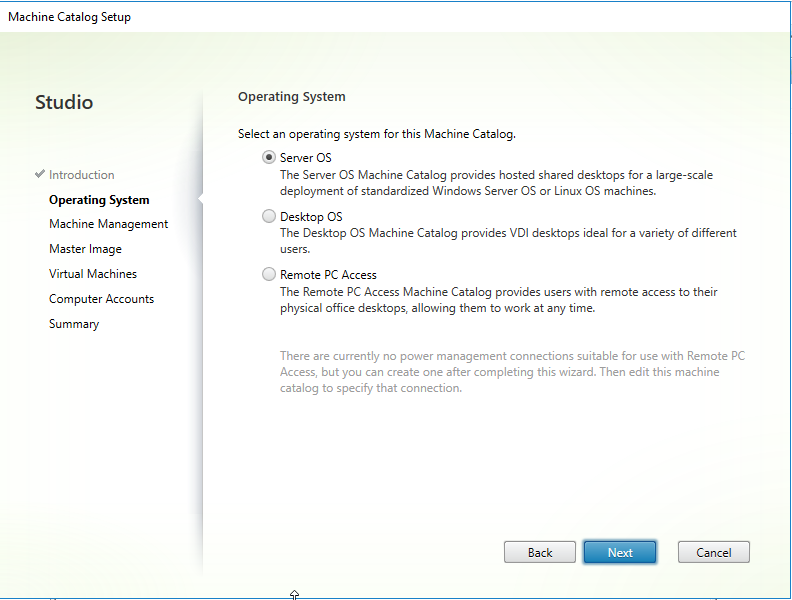
Step 3: Select Server OS at Operating System, Click next
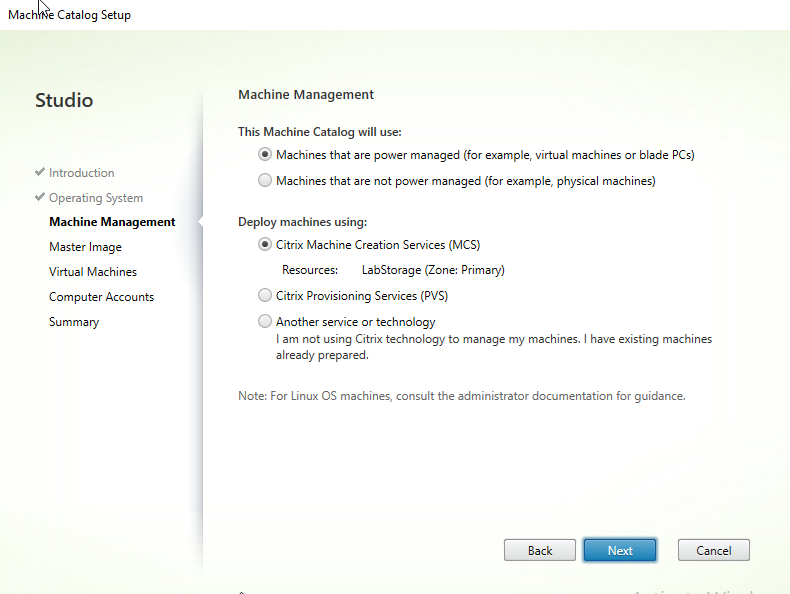
Step 4: At Machine Management, Machine Catalog will use Machine that are power managed, Deploy machines using Citrix Machine Creation Services (MCS)
Step 5: At Master Image, Select LAB-W2K16-HSD-MST, Click next

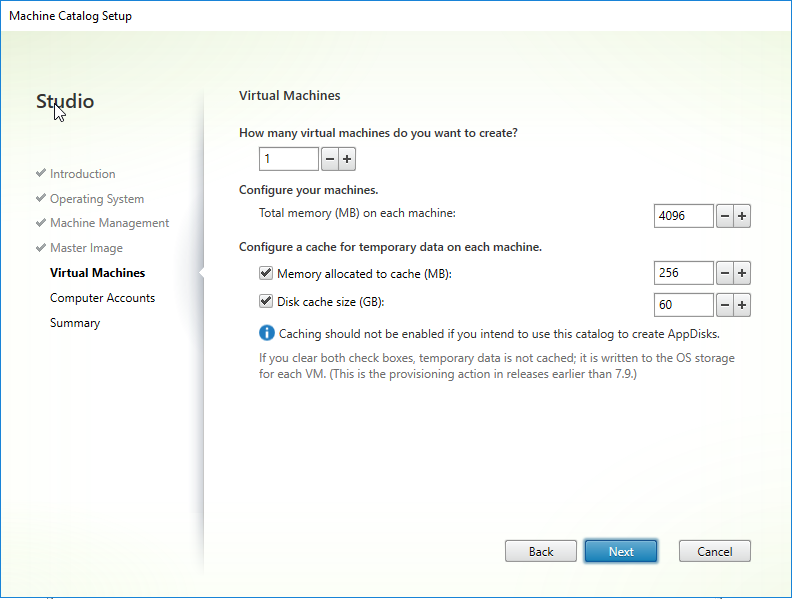
Step 6: Leave screen setting all default, Click next
 Step 7: At Active Directory Computer Accounts, Select Create new Active Directory accounts. Select LAB.LOCAL\LAB Servers\VCS\WorkLoad\HSD as OU location.
Account Naming: LAB-W2k16-## , Click next

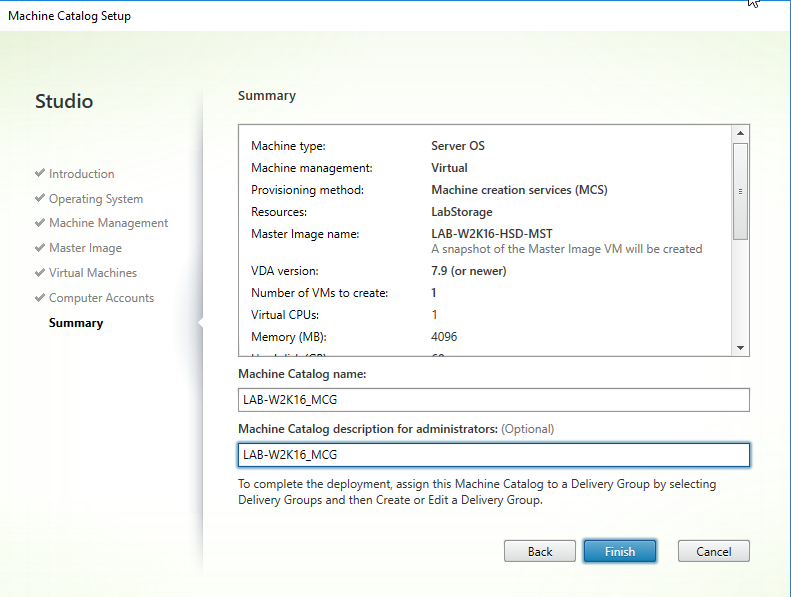
Step 8: At Summary screen , Select a Machine Catalog & Description for administrators. Click Finish
Step 9: A Snapshot/Image will not be captured.
Step 10: After Image/Snapshot is captured, the Machine Catlog LAB-W2K16-MCG will appear in the Machine Catalog section. Also reviewing the Hypervisor you’ll see the First Machine has been created (LAB-W2K16-01)
Configuring XenDesktop 7.12 – Setup Delivery Group
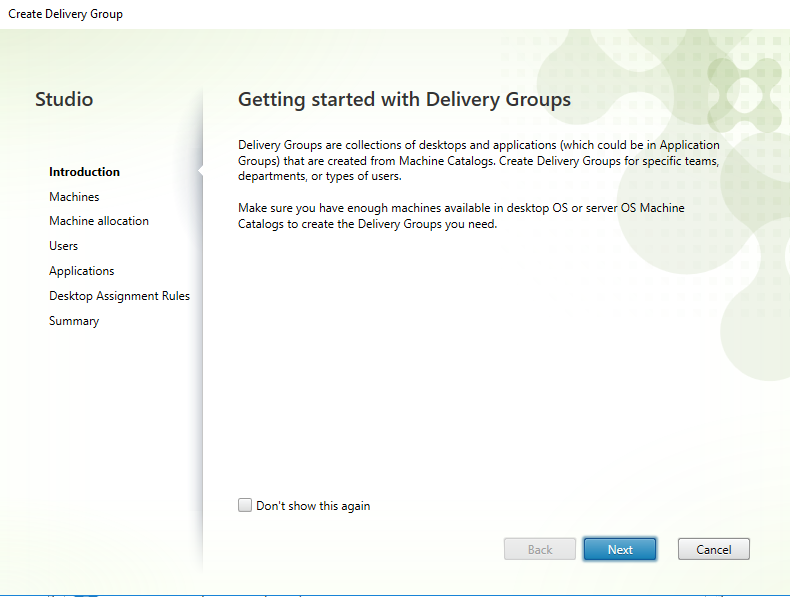
Step 1: At Getting Started, Click next
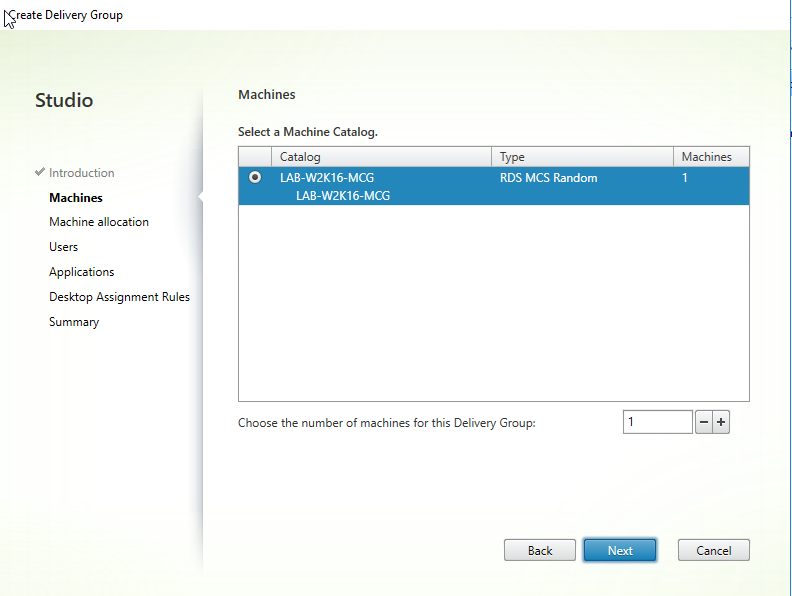
Step 2: At Machines, Select LAB-W2K16-MCG, Leaving number of Machines for delivery group at 1
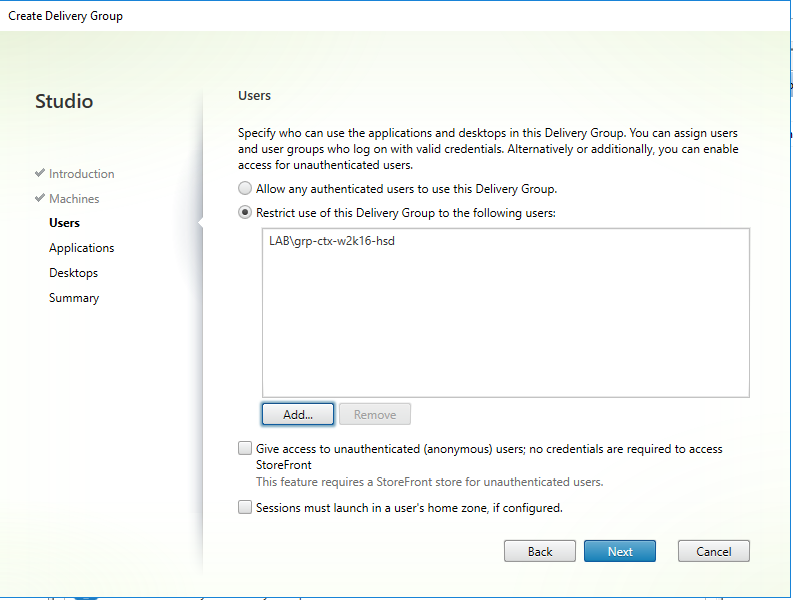
Step 3: At User, Select Restrict use of this delivery group to the following users. Adding Group LAB\grp-ctx-w2k16-hsd. Click Next
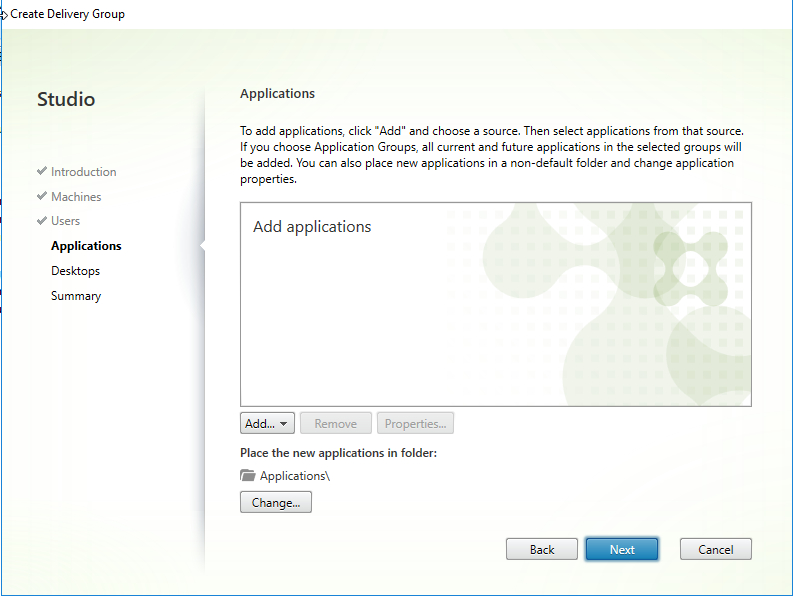
Step 4: At Applications, Click Next
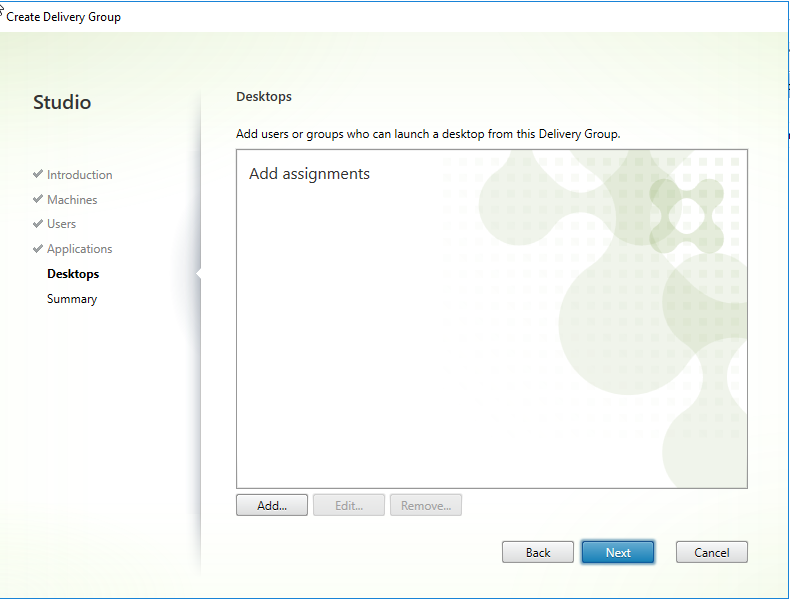
Step 5: At Desktops, Click Add
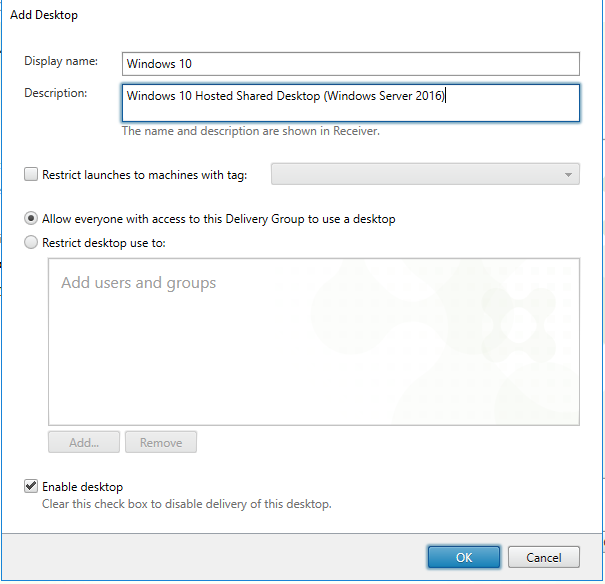
Step 6 : Enter the following information, Click Ok
- Display Name: Windows 10
- Description: Windows 10 Hosted Shared Desktop (Windows Server 2016)
- Allow Everyone with access to this Delivery Group to use a desktop
- Enable Desktop : ticked
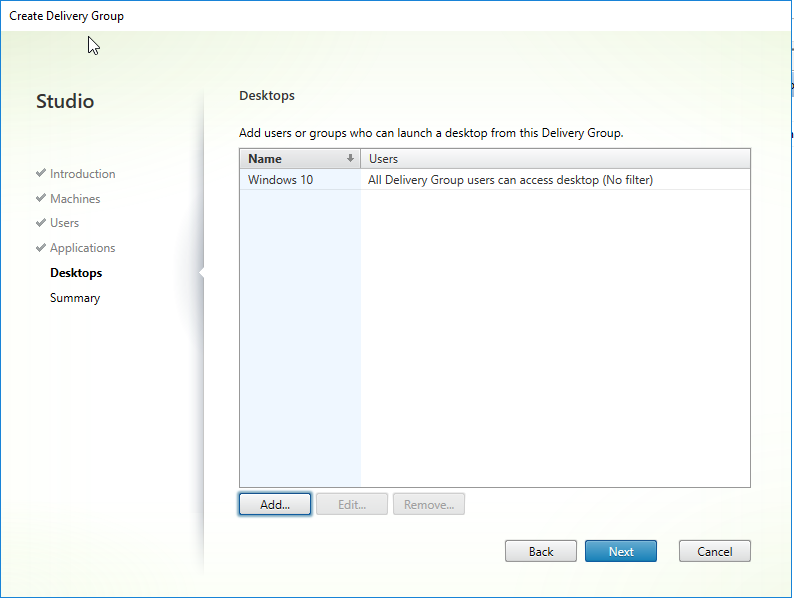
Step 7: Confirm Desktop has been added. Click next
Step 8: At Summary , Confirm all details are correct. Enter the following and then click Finish
- Delivery Group Name: Windows 10 – Shared Desktop
- Delivery Group Description: Windows 10 – Shared Desktop
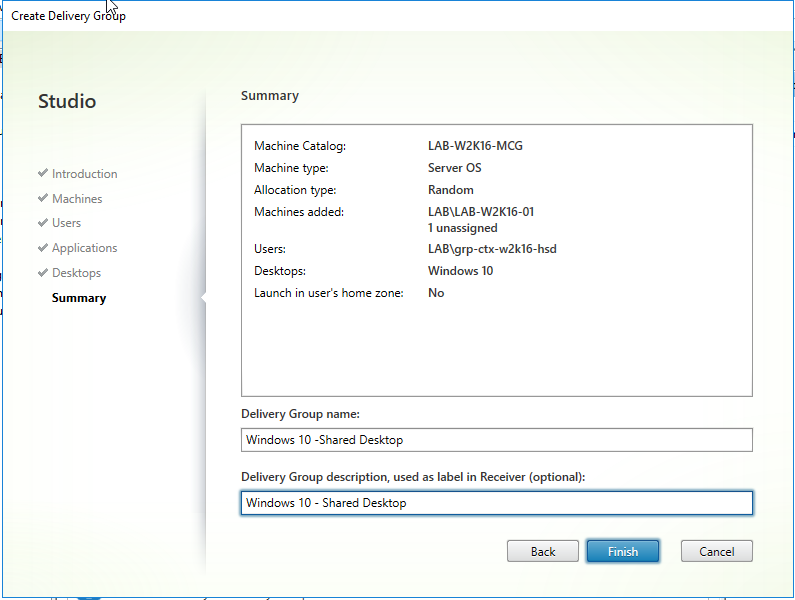
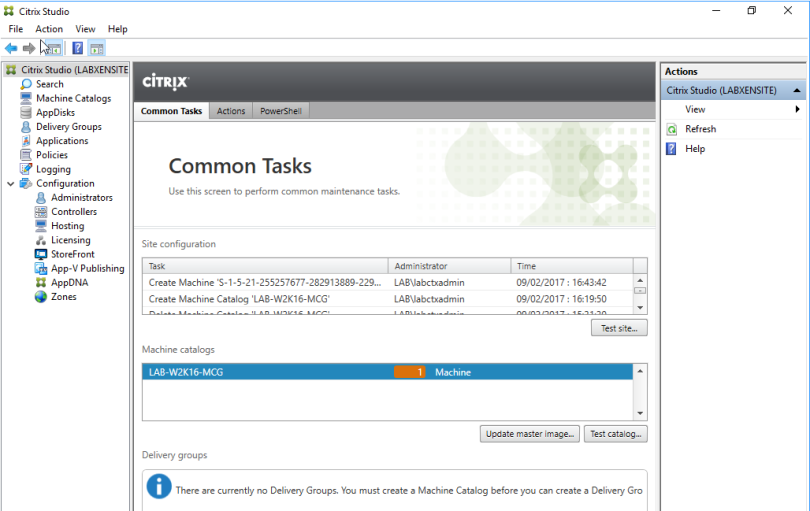
Step 9: Citrix Studio common tasks will show the delivery group created.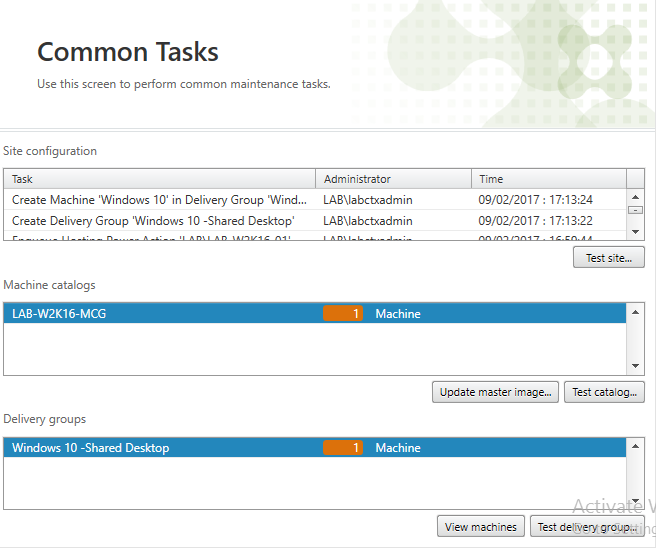
Installing StoreFront
Step 1: Download the Citrix 7.12 ISO from the Citrix Downloads (XenApp_and_XenDesktop_7_12.iso)
Step 2: Create Virtual Machine
Step 3: Open ISO Image (D:\ drive as per below)
Step 5: Choose for the Citrix Storefront option
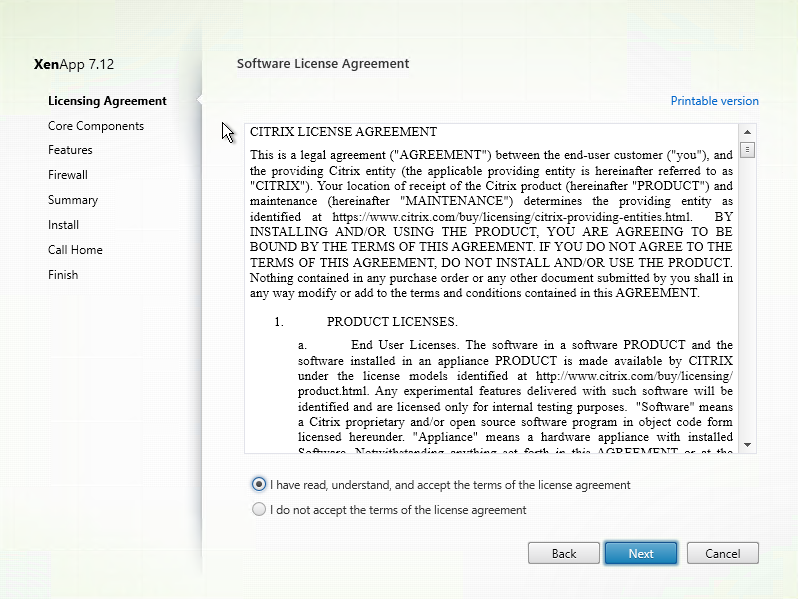
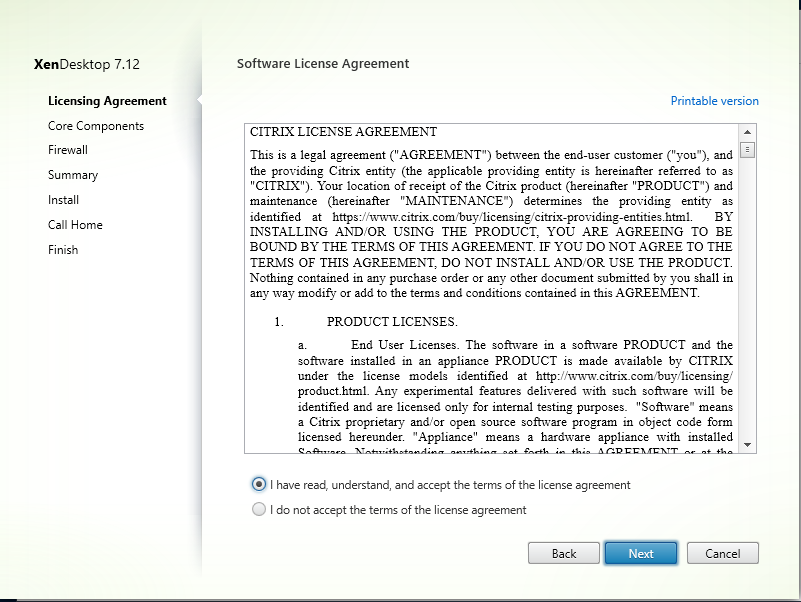
Step 6: At Software License Agreement Select , i have read , understand, and accept the terms of the license agreement. Click next
Step 7: At Core Components , click next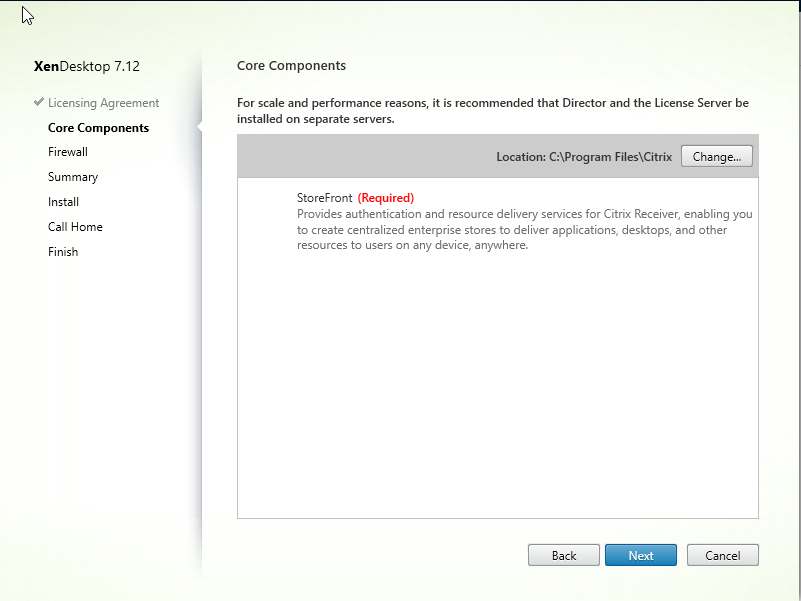
Step 8: At Firewall, Select Automatically. Click next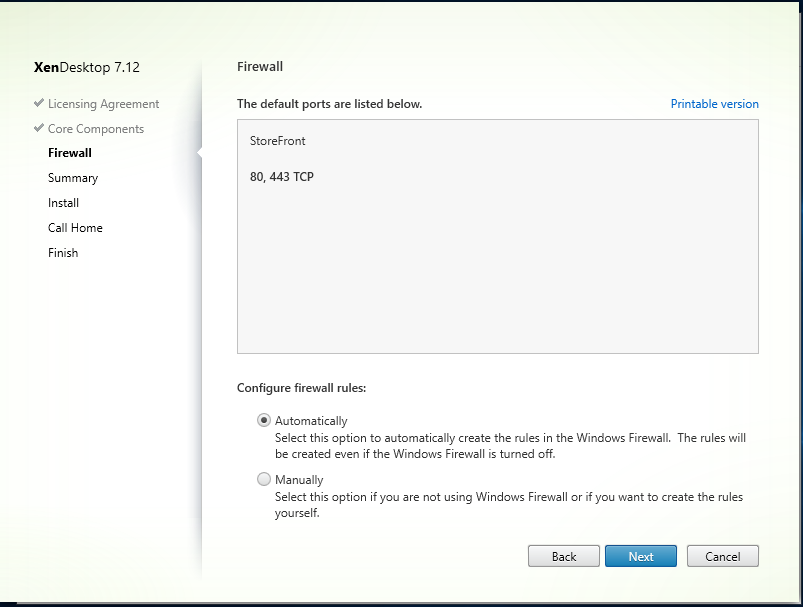
Step 9: At Summary, click install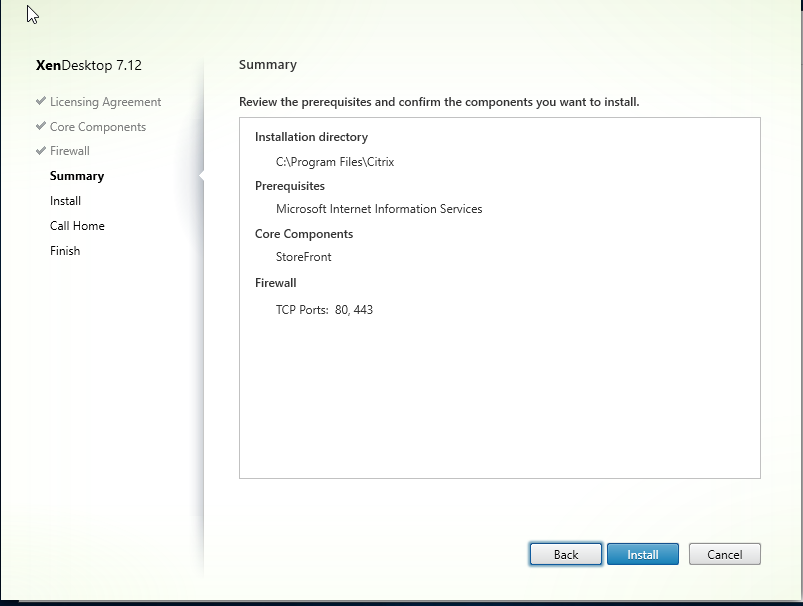
Step 10: Installing prerequisites and components will commence and begin the installing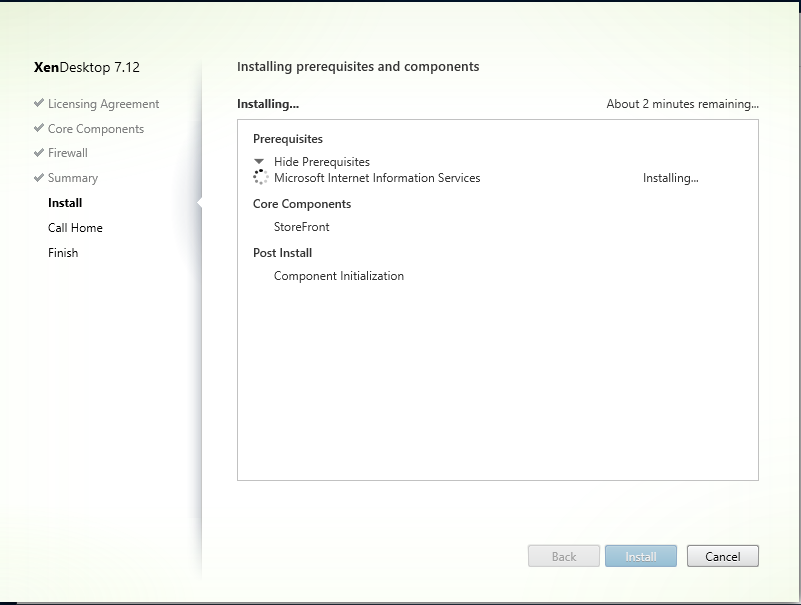 Step 11: At Call Home, click i do not want to participate in call home. Click next
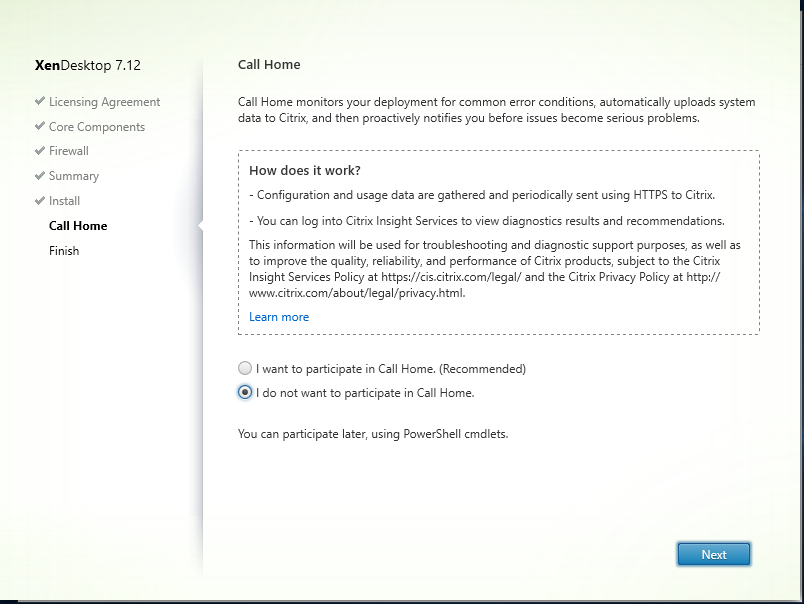 Step 12: At Finish Installation , leave Open the storefront management console and click finish
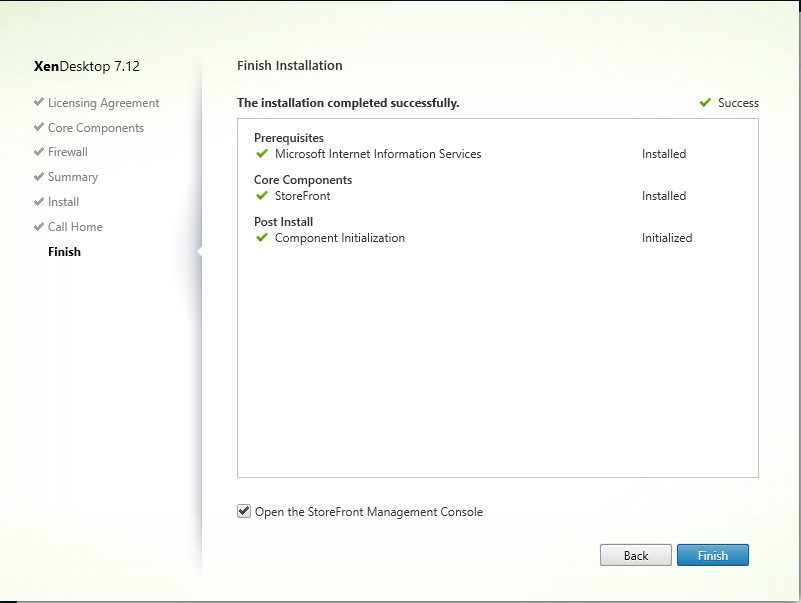
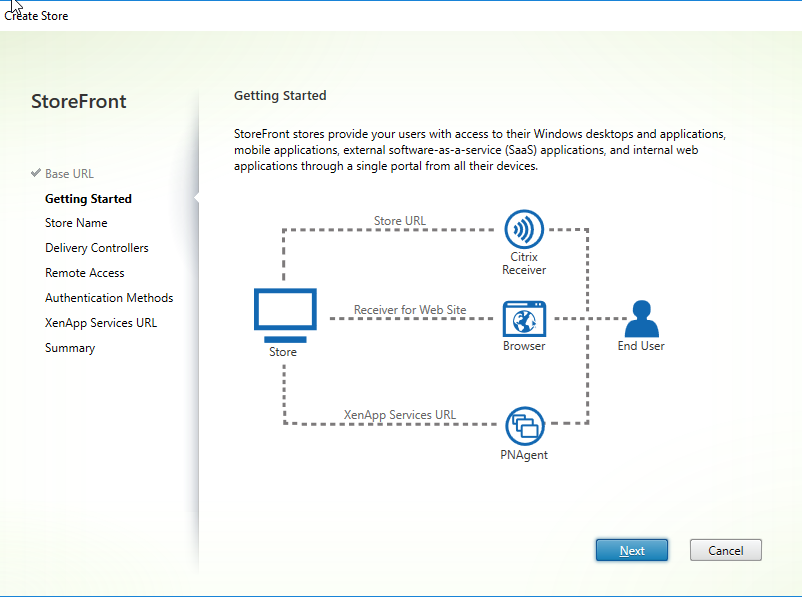
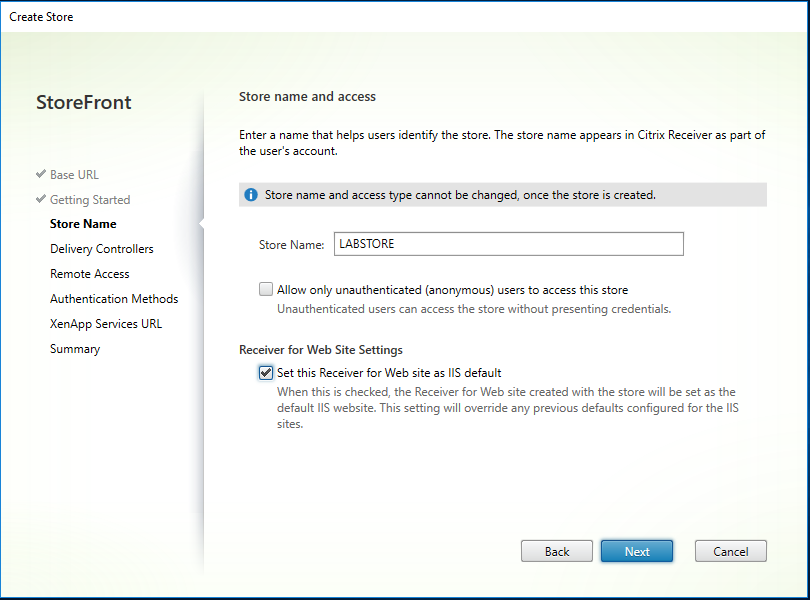
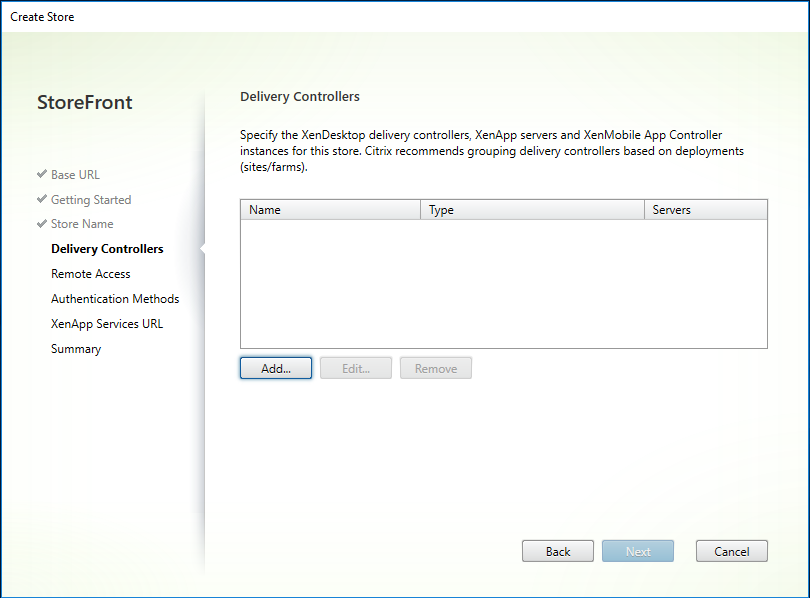
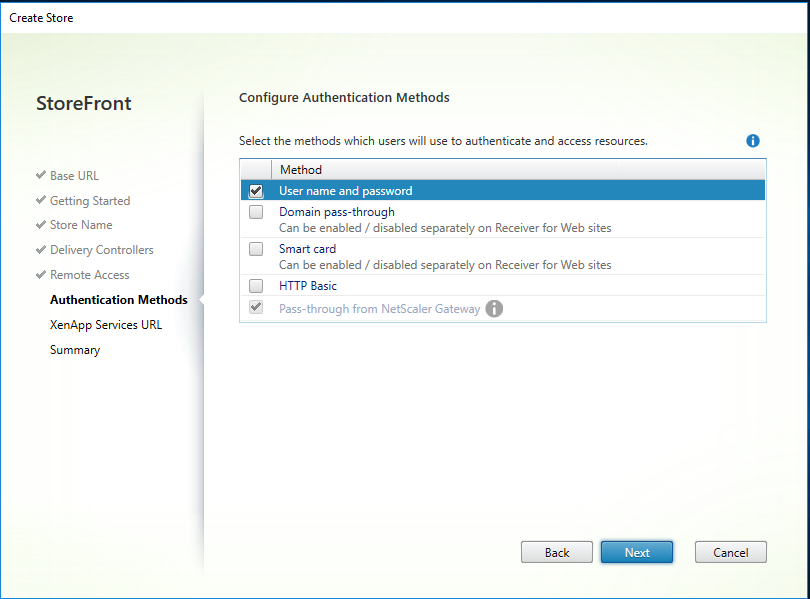
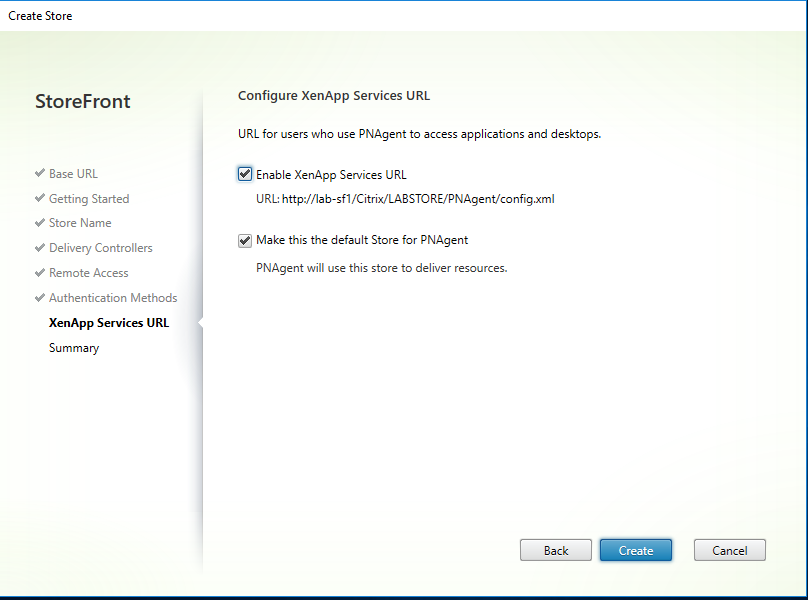
Configuring StoreFront
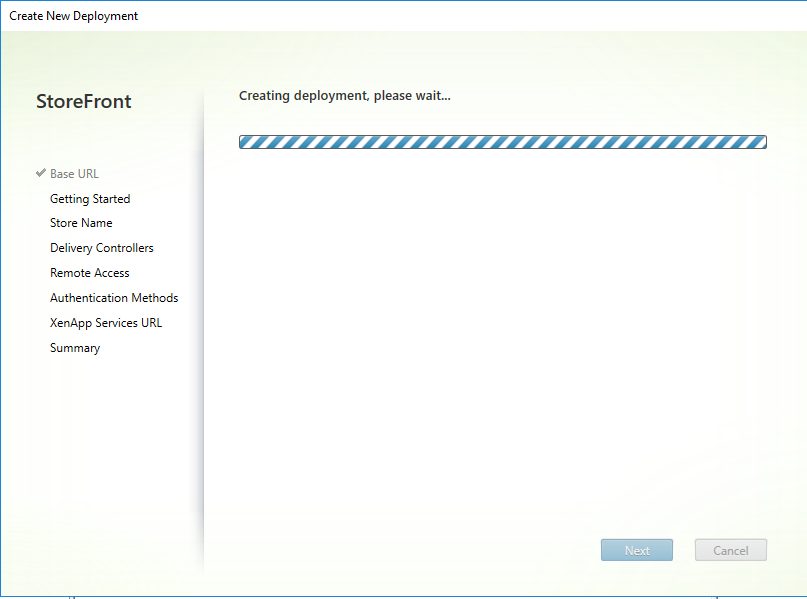
Step 1: At Welcome to Storefront, click Create a new deployment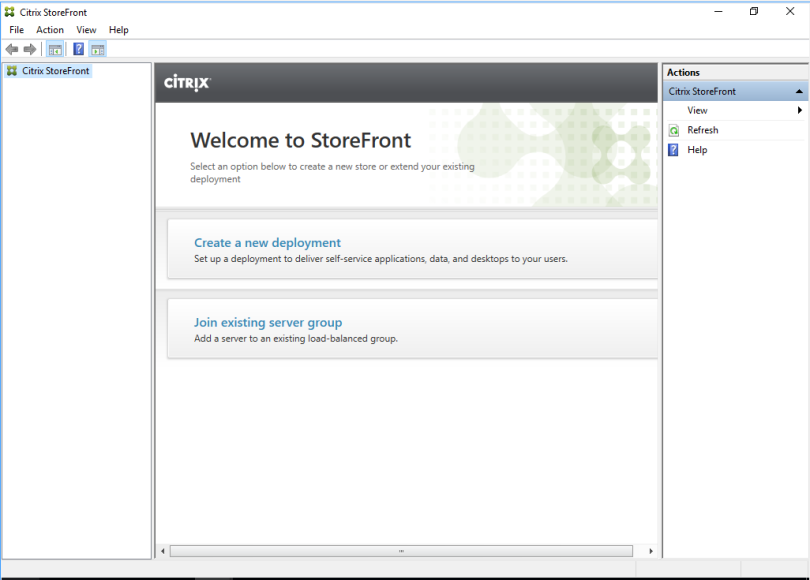
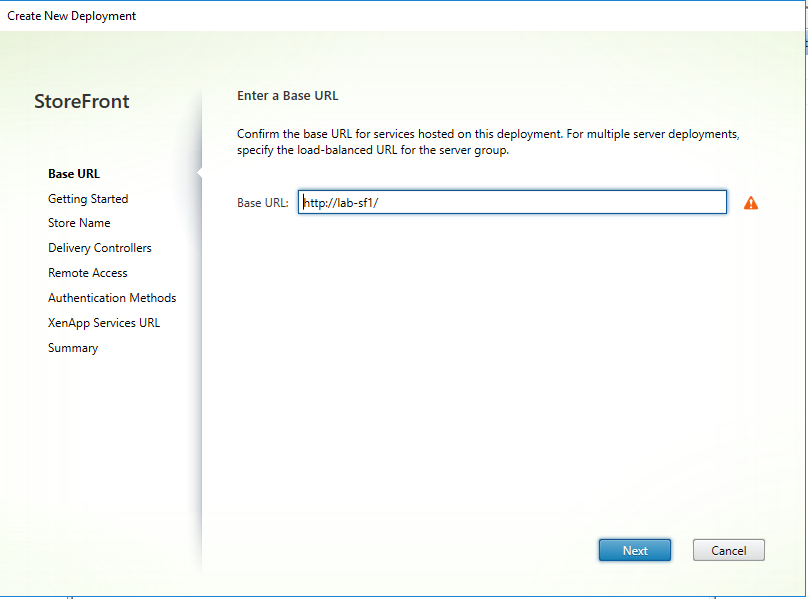
Step 2: Enter base URL [http://lab-sf1] , Click next
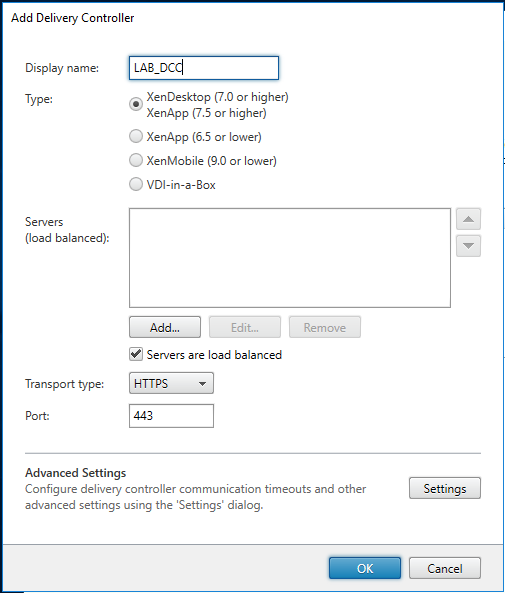
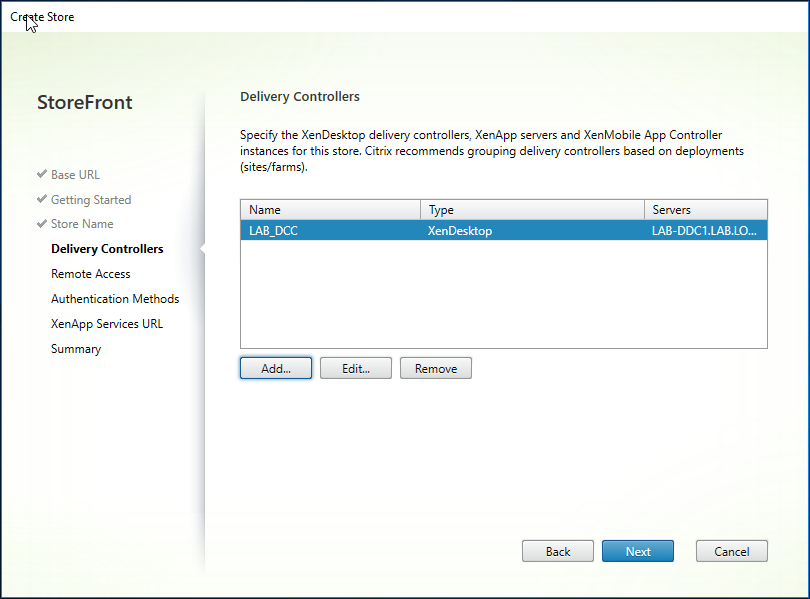
- Display Name: LAB_DCC
- Type: XenDesktop (7.0 or Higher)/XenApp (7.5 or Higher)
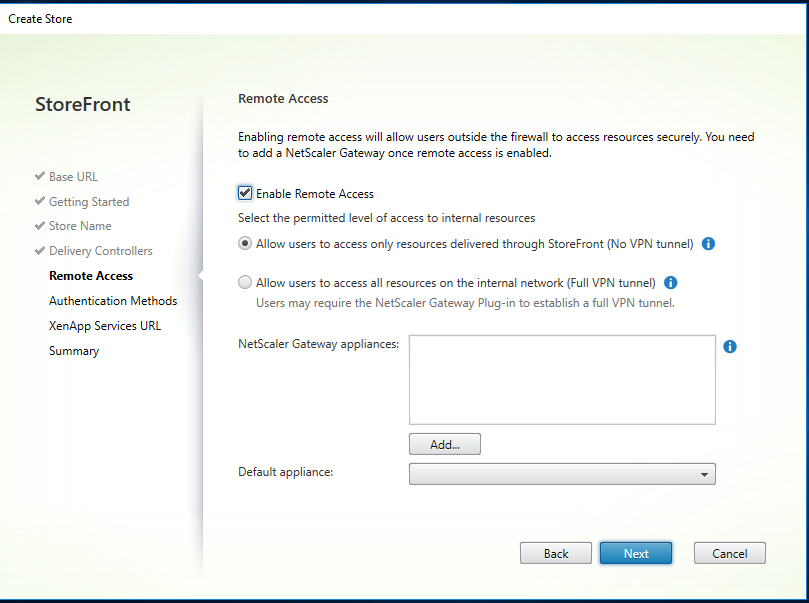
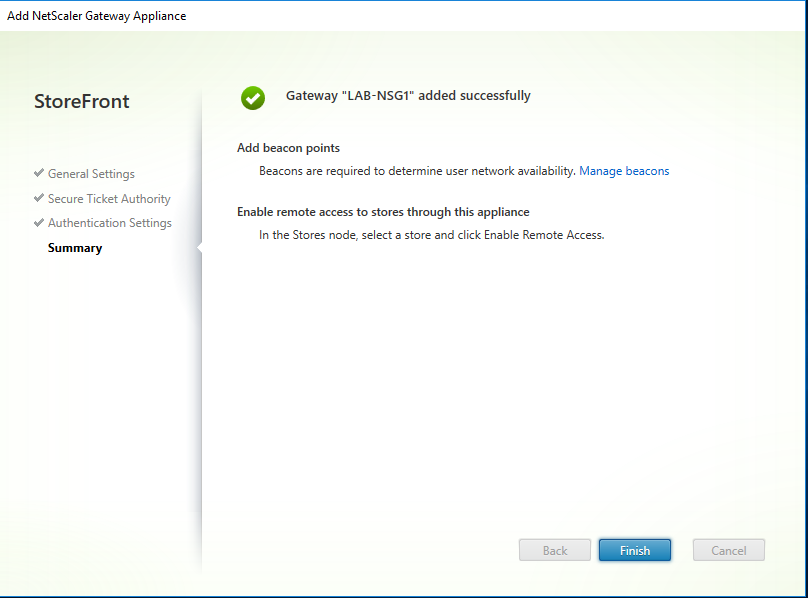
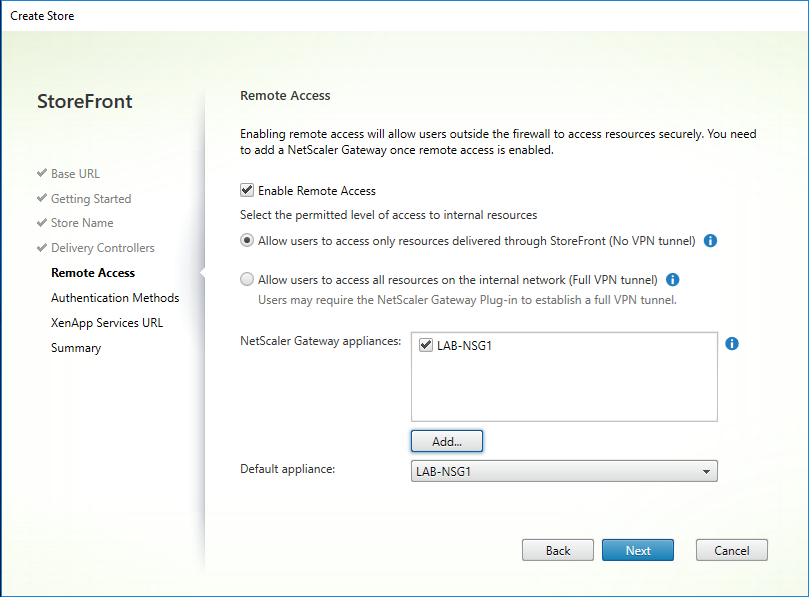
- Display Name: LAB-NSG1
- Netscaler Gateway URL: https://192.168.0.95
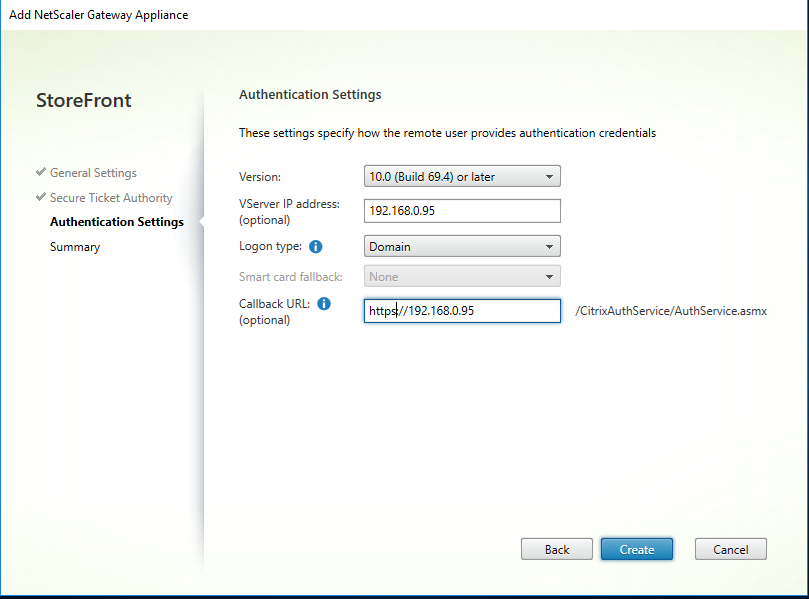
- Usage or Role: Authentication and HDX Routing

- Version: 10.0
- VServer IP: 192.168.0.95
- Logon Type: Domain
- Callback URL: https://192.168.0.95
Testing Access & Lab Environment just setup:
StoreFront Internal Access
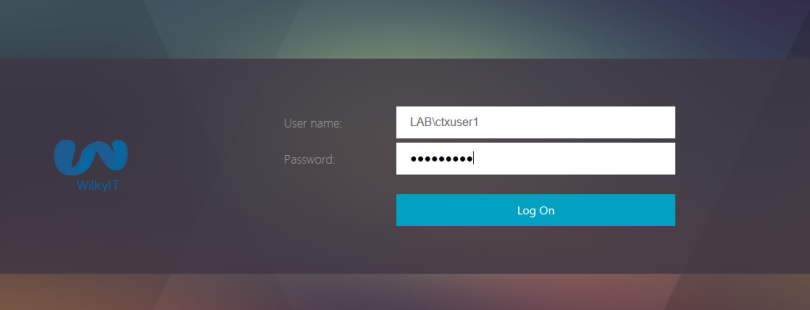
Step 1: Launch the storefront URL http://lab-sf1
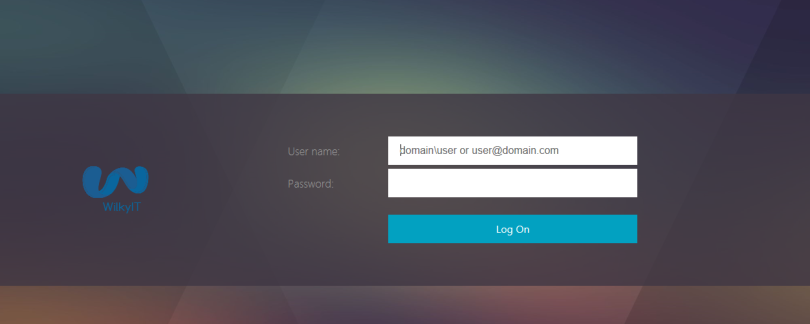
Step 2:Enter Domain\Username & Password. Ctxuser1 has been created and added to group that is assigned to Windows 10 Shared Desktop Delivery Group.
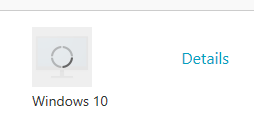
Step 3: After login the Windows 10 Desktop will appear.

Step 4: Launch Windows 10
Step 5: Citrix Session will begin connecting …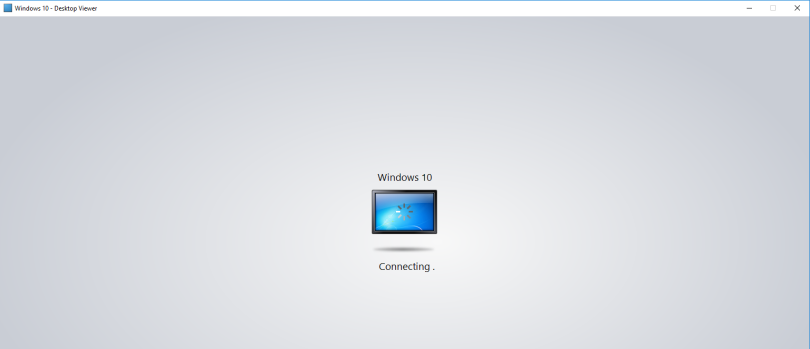
Step 6: The Windows 10 Shared Desktop (Based on Windows 2016 Server) is now launched.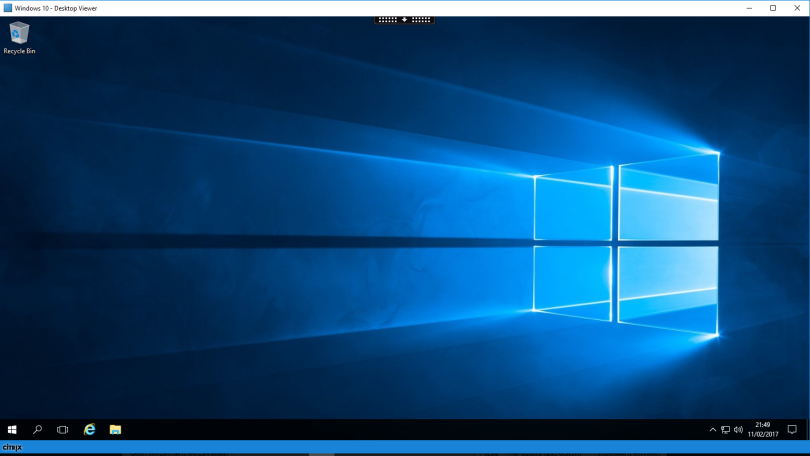
External Access:-
NOTE: Reliant on Netscaler being setup which is document here
Step 1: Launch the storefront URL https://citrix.wilkyit.com
Step 2:Enter Domain\Username & Password. Ctxuser1 has been created and added to group that is assigned to Windows 10 Shared Desktop Delivery Group.
Step 3: After login the Windows 10 Desktop will appear.
Step 4: Launch Windows 10
Step 5: Citrix Session will begin connecting …
Step 6: The Windows 10 Shared Desktop (Based on Windows 2016 Server) is now launched.
One comment